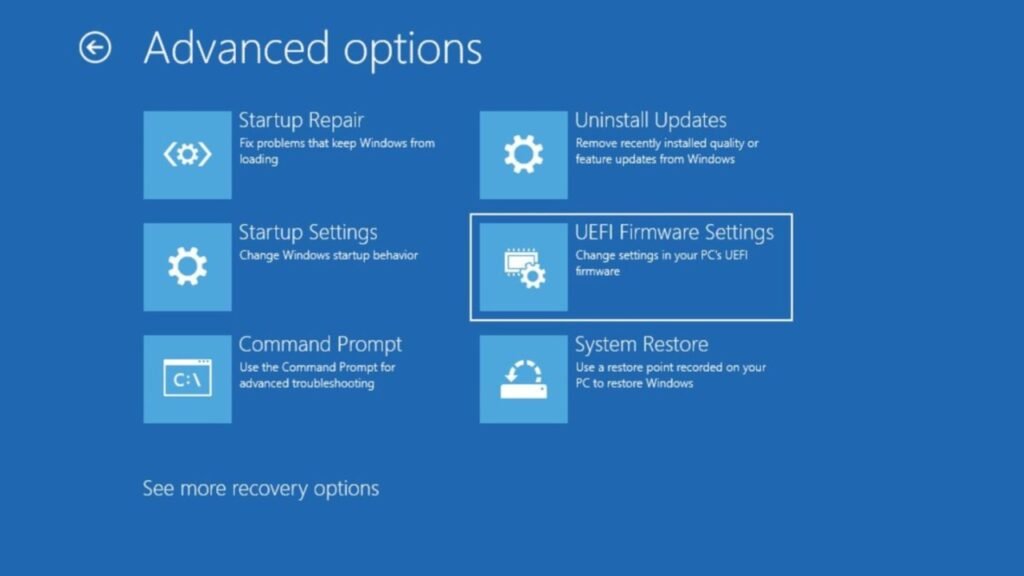
Apart from the frequent PC crashing issues, Battlefield 6 is also facing an error where the game is not launching and showing the following error message: “Secure Boot is not enabled”. This performance issue usually occurs when Secure Boot is disabled in your BIOS or UEFI settings.
Now, Secure Boost is something that Battlefield 6 requires for its anti-cheat. So you will not be able to run the game in any way if this key feature is disabled on your PC.
Fortunately, there are a couple of ways that you can employ to fix this problem, and the guide below will help you out with just that.
How to fix the “Secure Boot not enabled” error in Battlefield 6
Here are a few things you will need to do to solve the “Secure Boot not enabled” error in Battlefield 6:
Step 1: Make sure that TPM 2.0 is enabled
To make sure that TPM 2.0 is enabled, you will need to open the Run dialog box by pressing Windows + R, then typing in “tpm.msc” and then pressing Enter.
Now, in the new window, look under the status section, and if it says “The TPM is ready for use,” then you are all set. If it says that TPM is not in use, then you will have to enable it manually from the BIOS settings.
Step 2: Make sure your Disk uses GPT
For the next step, you will need to make sure that your system’s disk uses GPT. You can do this by:
- Pressing Windows + X opens the Disk Management menu.
- Here, you will need to right-click on the system device, which is usually the C drive.
- Now, select Properties, go to the Volumes tab, and then check Partition Style.
- If it says GPT here, then you do not need to make any changes; however, if it says MBR, you will need to convert it to GPT by doing the following:
- Press Windows + R, type cmd, then press Ctrl + Shift + Enter to open Command Prompt with admin rights.
- You will now need to enter the following command to validate:
- mbr2gpt /validate / disk:0 /allowFullos
- If validation passes, run mbr2gpt /convert /disk:0 /allowFulloS
Note: Make sure to save your data to a backup when converting MBR to GPT. You will also need to restart your PC after the conversion is successful.

Step 3: Enable Secure Boot
For the final step, you will now need to enable Secure Boot on your system. The process is different for the type of motherboard you are using. So we have segregated it into three ways:
MSI Motherboards:
- On your MSI motherboards head into the BIOS settings and then press F2 or F7 to enable Advanced Mode (the required button will depend on your motherboard model).
- Once in, head to Settings and then Security. Here, click on Trusted Computing, and you will find a list of programs. Now, look for the TPM Device option and select dTPM (Discrete TPM).
- Now, head back to the Settings tab and go to Windows OS Configuration. Here you will find UEFI under Windows Support. Make sure to disable CSM here. After that, save the changes and restart your PC.
- Now, once it reboots, head into the BIOS settings again, and back to Windows OS Configuration. Here, you will need to select Secure Boot and enable it so that the game’s anti-cheat can finally access it.
- Finally, save and exit your BIOS> Restart your system and relaunch Battlefield 6.
Gigabyte Motherboards
- On your Gigabyte motherboard, head into the BIOS settings and then press F2 or F7 to enable Advanced Mode (the required button will depend on your motherboard model).
- Now, head to the Settings tab and then select Miscellaneous there. Here, you will need to locate CPU fTPM or PCH-FW and make sure that the Firmware TPM switch or PTT is enabled.
- Once done, save the changes and restart your system. Head into BIOS again and then go to the Boot Tab. Find the CSM Support option here and make sure that it’s set to UEFI (not CSM).
- Next, head to Secure Boot and then enable it so that Battlefield 6’s anti-cheat can access it.
- Finally, save, restart your system, and launch BF6.
ASUS Motherboards
- On your Asus motherboard, head into the BIOS settings and then press F2 or F7 to enable Advanced Mode (the required button will depend on your motherboard model).
- Now, head to the Advanced Tab and open the CPU fTPM or PCH- FW option. A new menu will open up where you will need to make sure that the firmware TPM switch or PTT is enabled.
- Now save changes, restart your PC, and head into BIOS again. This time, navigate to the Boot tab and then Secure Boot. Under the OS type, you will need to choose UEFI and make sure that CSM is disabled.
- This will now make sure that Secure Boot is enabled, and the shooter will be able to access it.
- Finally, save, exit BIOS, restart PC, and launch BF6.
If the Secure Boot option is greyed out, try enabling Fast Boot first. Otherwise, reset your Secure Boot status to factory defaults, or add/remove an admin password. Following the steps above should be enough to enable Secure Boot on your laptop/PC.
What causes the “Secure Boot not enabled” error in Battlefield 6?
Secure Boot is a PC function that is needed for Battlefield 6’s anti-cheat. You will not be able to run the shooter if this is disabled on your system. So the main reason why you are not being able to log into the game and see this error message is that the function is not enabled. Enabling it on your system is the only way of working around this issue.
