
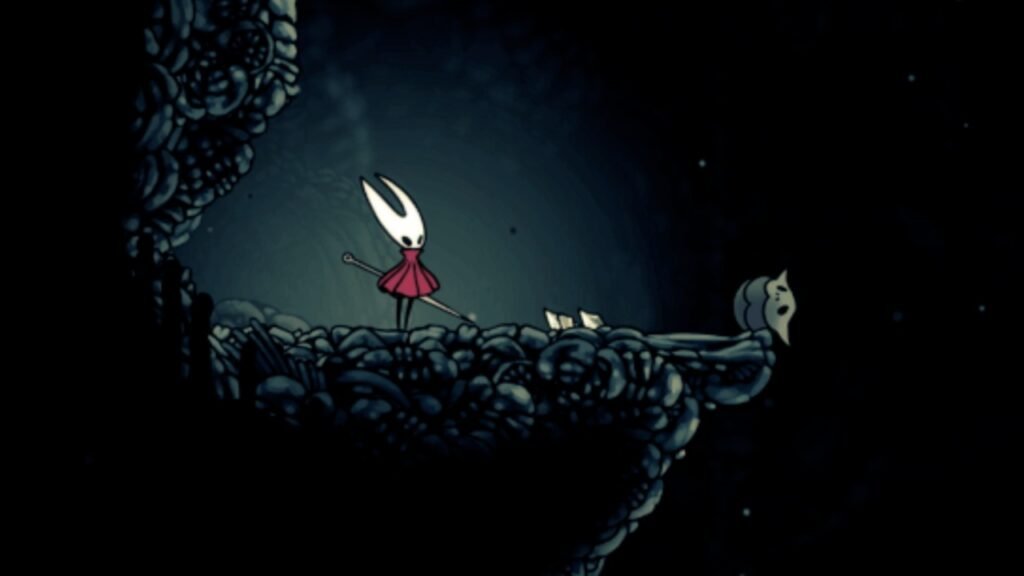
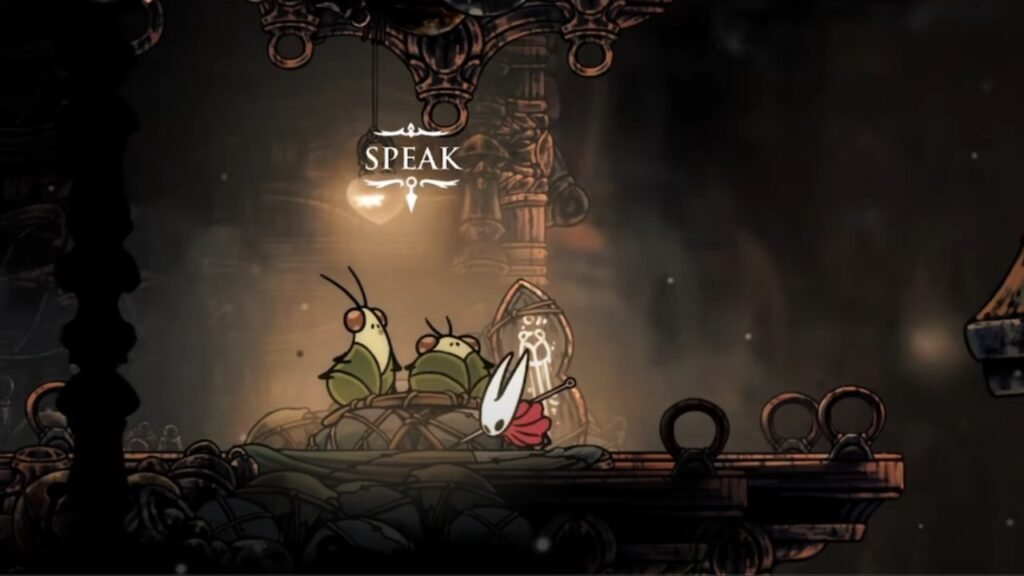
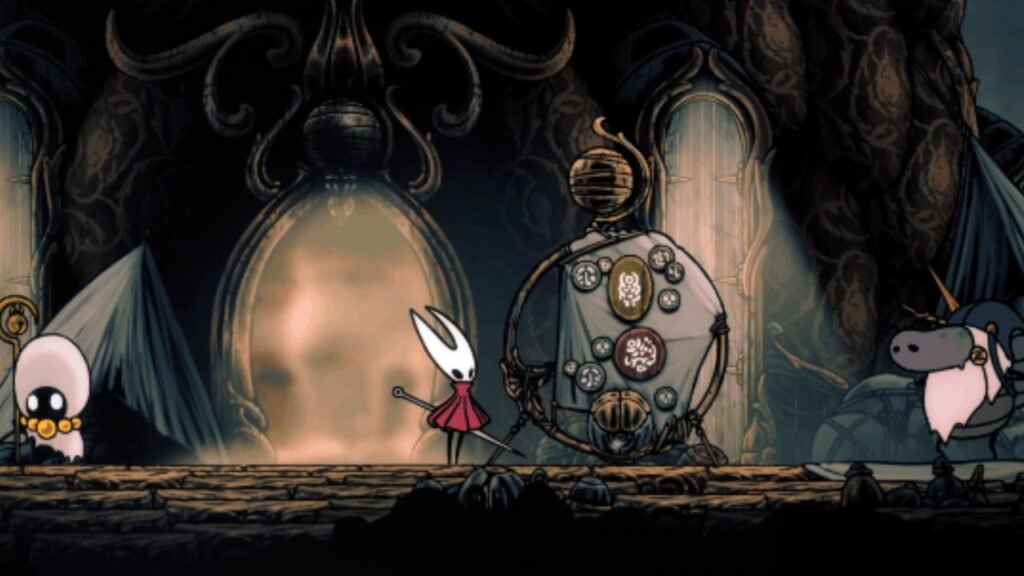
As you make your way through Hollow Knight Silksong, you will eventually stumble upon Wishes, which are sidequests in the game that you can complete for great rewards. These quests are then further categorized into types, with each category having a distinct set of objectives that you will be able to complete.
The categories are listed below:
So if you are looking to make the most of the Wishes and the sidequests in Silksong, then the guide below will help you out.
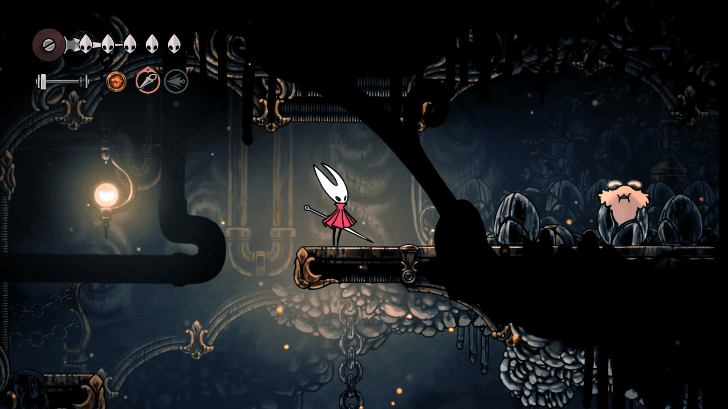
All Hunt wishes and quests in Hollow Knight Silksong
Here is a list of all the Hunt quests in Hollow Knight Silksong, along with how to complete them, and the rewards that they offer:
Garb of the Pilgrim
| Quest Giver | Wishwell |
|---|---|
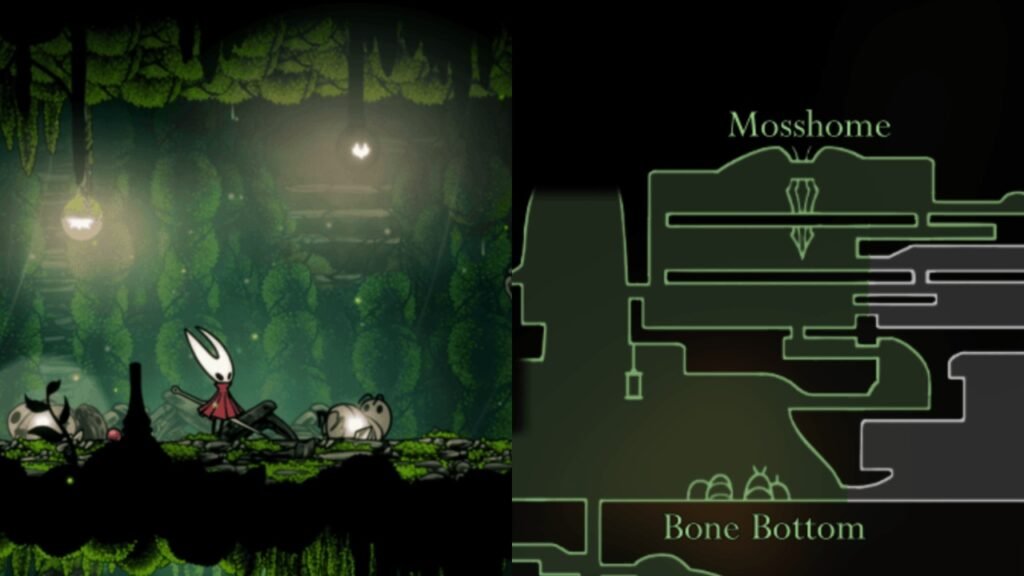
| Quest Location | Bone Bottom |
| Objective | Collect 12 Pilgrim Shawls |
| Reward | Rosary Necklace |
Once you get the quest, the best way to complete it will be to head north of Bonebottom to spot two pilgrims there near the resting zone. So beat them, rest, respawn them, and keep repeating the process till you round the quest out.
Once you complete the Wishwell mission, you will receive the Rosary Necklace as a reward. It’s a great resource to have around, as consuming it will allow you to obtain a fair bit of Rosaries. So if you are some Rosaries short on purchasing an item, you can pop a few of these.
However, do keep in mind, any loose Rosaries that you have are lost upon death.
Flexile Spines
| Quest Giver | Seamstress |
|---|---|
| Quest Location | Far Fields |
| Objective(s) | Collect 25 Spine Cores from Hokers |
| Reward | Drifter’s Cloak |
The Flexile Spines quest is how you get the Drifter’s Cloak in Hollow Knight Silksong. To start the quest, you will need to first find and interact with the Seamstress, who can be found further to the right of Far Fields. So keep heading down that path till you find a floating building in the centre of the area.
Now go around the zone and use the wooden planks to platform up and reach the house. The Seamstress will be inside, and will task you with collecting 25 Spine cores from Horkers who can be hound further in the Fields.
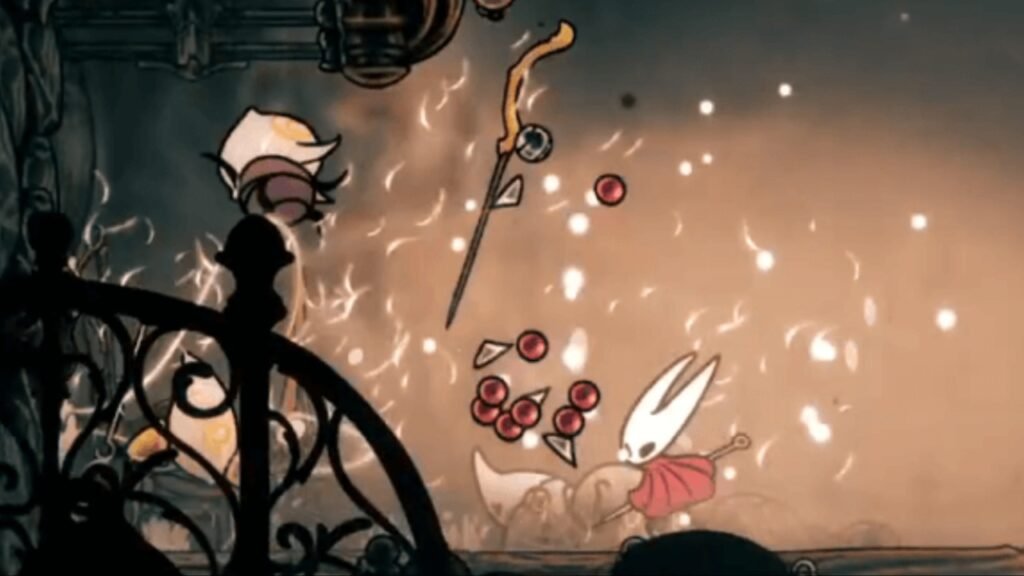
After picking up the quest, head right from the Seamstress’ house till you find some Horkers. These are floating bugs that will attack you if you aggro them. Once they engage you, they will throw a random number of multi-directional spikes or Spine Cores towards you.
The spikes can be collected by hitting them. These start to glow bright when struck, signifying that you can pick them up. So you can effectively focus on one Horker and use it to collect 25 Spine Cores. However, do keep in mind that if you do not pick up the Spines in time, they will disappear.
Once you have all 25 Spines, head back to the Seamstress and turn them in. A small cutscene will play out, and you will receive the Drifter’s Cloak as a reward.
Volatile Flintbeetles
| Quest Giver | Wishwell |
|---|---|
| Quest Location | Bone Bottom |
| Objective(s) | Collect 3 Flintgems |
| Reward | Memory Locket x1 |
To get Flintgems, you will need to obtain them as a drop by beating Flintbeetles. There are three locations where you will find them in and around. The Marrow:
1) Near Bone Bottom Camp
The first time you will come across a Flintbeetle will be to the left of the Bone Bottom Camp. You will find the bug on top of a rock, and you will need to hit it to bring it down.
2) Near a Flea in Upper Marrow
The next Flintbeetle will be found near Upper Marrow. Look for an abandoned building that you can reach after some platforming. If you managed to save one of the Fleas in the area, you will find the Flintbeetle near it, sticking on top of the rocks.
3) Right of The Marrow
You will be able to locate the final Flintbeetle to the right of the Marrow. Look for an area near bunches of red flowers. Then, Pogo Jump up and reach the area that leads to Skarrgard, which is a boss that can be located further right.
You will find the Flintbeetle here, along with a shortcut that can be unlocked after exploring the left side and then interacting with the platform mechanism present above the prison.
Another way to track the beetles will be to look for their Dung. These are scattered all over The Marrow, and Hornet can interact with them to locate their scent trail. However, as the scent trail eventually disappears, you will need to fast in locating th Flintbeetle.
After collecting all three Flintgems, you will be able to round out the quest and obtain a Memory Locket as a reward. Memory Lockets are used to upgrade Crests in Hollow Knight Silksong.
Crawbug Clearing
| Quest Giver | Creige |
|---|---|
| Quest Location | Halfhome |
| Objective(s) | Obtain 25 Ragpelts |
| Reward | Crafting Kit and Craws Removal |
After you get the quest, you will need to obtain 25 Ragpelts for Creige to round it out. Ragpelts are obtained from Craw-type enemies, and while Creige will ask you to focus on the larger ones, the item can be obtained from any regular Craw.
So focus on farming the ones that are just outside the Halkway Home. You can keep resting at the bench in the house, to keep respawning the Craws and then taking them out till you have 25 Ragpels.
Once you have the necessary amount, head back to Creige and turn them in for a Crafting Kit, which will help increase the amount of damage that Hornet’s tools do.
Apart from a Crafting Kit, rounding the quest will also clear the area of Craws. Once you return after leaving Greymoor, you will notice that a scarecrow is situated at the top of the Halfway Home. This will cause all the Craws in the area to disappear, making it a safe place for Hornet to rest.
Fine Pins
| Quest Giver | Songclave Wishwell |
|---|---|
| Quest Location | Songclave |
| Objective(s) | Obtain 10 Fine Pins |
| How to Unlock | Ring the Bell of First Shrine, then wait to make it a Sonclave |
| Rewards | Heavy Rosary Necklace |
This Hunting Wish is provided to you by the Songclave Wishwell after you have unlocked the first shrine as the Songclave. The quest will task you to get 10 Fine Pins. The best way of going about doing that is to take on Choristor and Reeed enemies who wield these pins.
Both can be found in the Choral Chambers; however, a better farming strategy will be in the Grand Bellway Ventrica Station. There is a Choristor right outside that you can keep killing and respawning by using the resting bench nearby.
Upon completing the Wish, you will receive a Heavy Rosary Necklace, which can be consumed to obtain 220 rosaries.
Roach Guts

| Quest Giver | Benjin and Crull |
|---|---|
| Quest Location | Sinner’s Road |
| Objective(s) | Hunt 10 Roach Guts |
| How to Unlock | Unlocked after talking to Benjin and Crull |
| Rewards | Tacks |
To start the quest, you will need to talk to Benjin and Crull. Roach Guts will not fall from Murkroaches if you haven’t started the quest, so make sure that you find the NPCs on the top right of Sinner’s Road. You will need to do some platforming and pogo jumping to reach the area.
Once you get there, talk to Benjin and Crull to start the Roach Guts quests, where you will need to take down Murkroaches and collect 10 Roach Guts from them.
Murkroaches are a very common enemy type that can be found along Sinner’s Road. So keep heading along the area, and keep farming them till you have obtained the required amount. A hit-and-run strategy is the safest way of taking on these enemies in Hollow Knight Silksong.
Once you have the required amount, head back to Benjin and Crull to turn them in. You will then be rewarded with Tacks, which is a sort of ground-spikes move that Hornet can use to damage enemies that come near her. There are seven of these spikes that you will be able to use till you replenish them at a Resting Spot.
Broodfeast

| Quest Giver | Huntress |
|---|---|
| Quest Location | Putrified Ducts |
| Objective(s) | Obtain 15 Seared Organ, 35 Shredded Organ, and 10 Skewered Organ |
| How to Unlock | Talk to the Huntress in Putrified Ducts |
| Rewards | Longclaw |
To start the Broodfest Wish, you will need to talk to the Huntress in the Putrified Ducts. You can either go through the waterways, beat Groal the Great boss, or head to her location through the Memorium, which is at the top of the Citadel.
To complete the quest, you will need to harvest different types of organs from your enemies. This can be done by attacking them with a particular attack type.
| Organ | Attack Type |
|---|---|
| Skewered Organs | To get these, you will need to use tools with piercing damage on your enemies. This means that you will have to rely on Longpins and Sting Shards to get them. |
| Shredded organs | For this, you will need Shredded Organs like the Cogwork Wheel. Alternatively, you can also use the Architect Crest as it has a naturally destructive way of damaging enemies. |
| Seared Organs | For this, you will need to use flame-umbied attacks. So, for this, you will need the Flintslate which when used will infuse Hornet’s needle in flames. |
For completing the Broodfest wish, you will receive the Longclaw Charm. When equipped, this tool will help extend Horrnet’s pin’s attack range. It’s one of the best blue charms to have ar any point during your progression.
Cloaks of the Choire

| Quest Giver | Songclave Wishwell |
|---|---|
| Quest Location | Songclave |
| Objective(s) | Obtain 15 Choir Cloaks |
| How to Unlock | Complete Fine Pins Wish |
| Rewards | Heavy Rosary |
You obtain the quest after unlocking the Songclave Wishwell in Hollow Knight Silksong. You will be able to complete it by defeating the choir bugs around the Citadel that have cloaks over them. So look for the following bug types:
- Choir Flyers
- Elders
- Hornheads
- Pouncers
The best way to farm them will be to head over to the hot spring zone in the Citadel Spa and then use the bench there to head Northeast and find Choir Hornhead and Pouncer. You can keep killing them and respawning them to collect the required amount of Choir Cloaks.
Completing the Cloaks of the Choire will reward the Heavy Rosary.
All Wayfarer wishes and quests in Hollow Knight Silksong
Here is a list of all Wayfarer wishes, quests, and rewards in Hollow Knight Silksong:
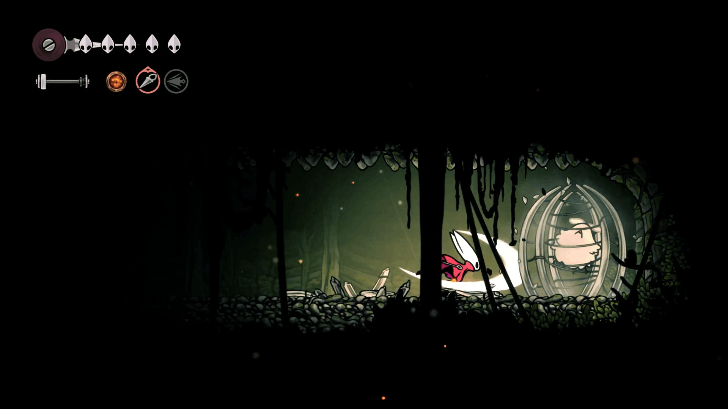
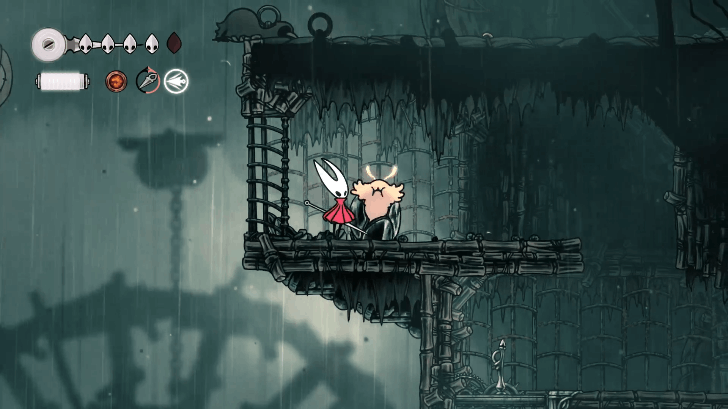
The Lost Fleas
| Quest Giver | Fleamaster Mooshka |
|---|---|
| Quest Location | The Marrow |
| Objective(s) | Save 5 Fleas. |
| Rewards | • Caravan Travels to Greymoor Flea Brew • 3x Flea Brew • Moorwing boss skip |
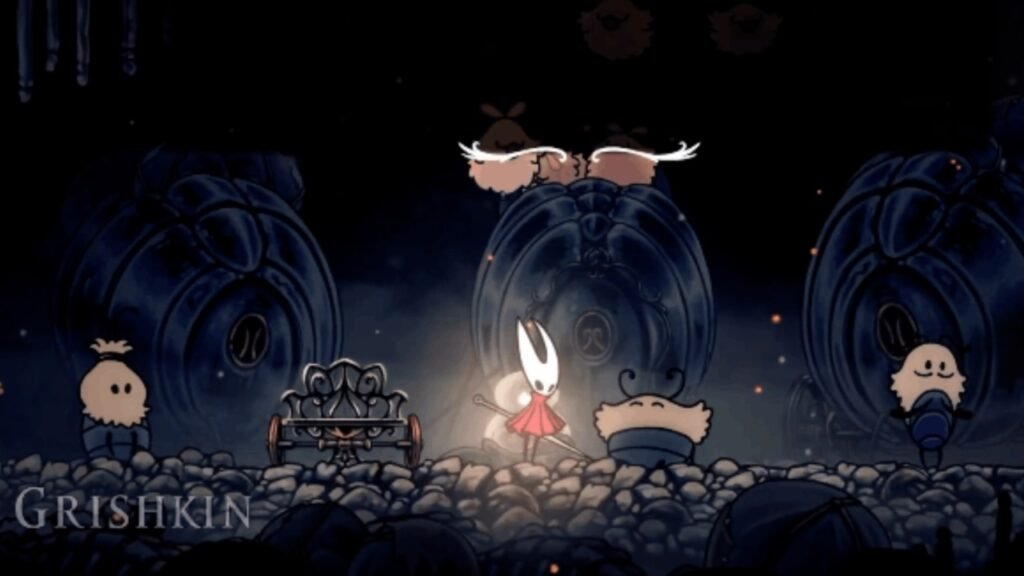
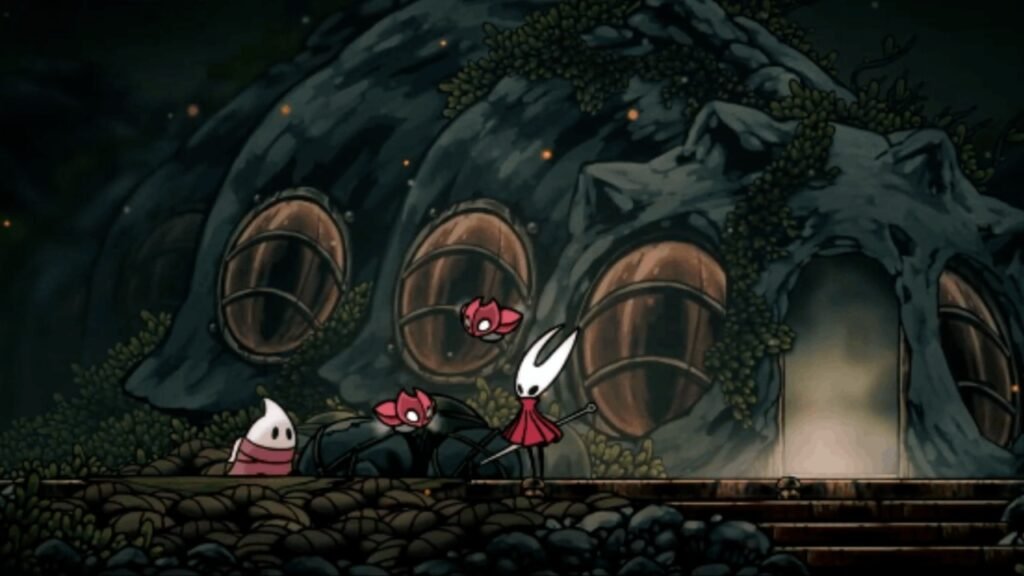
The Lost Fleas quest was obtained from Fleamaster Mooshka, who can be found in the upper parts of The Marrow. The NPC is a part of the Flea Caravan, and after interacting with them, you will be tasked to find 5 Fleas around Pharloom.
Here is where you will be able to find all of them:
| Flea Location | How to reach |
|---|---|
 The Morrow | The first Flea can be spotted in The Morrows. You will need to reach the very top of the area, which will remain obscure on the map till you rest. You will need to platform a lot in this area, and you will be able to locate the flea to the top right there. As soon as you reach it, break it free from its entanglement. |
 Deep Docks 1st location | The first Deep Docks Flea can be located on the lower part of the map. To access it, you will need to break a secret wall heading from Bell Beast Station to the left, while making your way to the lava fall section. You will notice the flea as soon as you enter the area, so just make sure to carefully time your jumps and not get hit by the lava. |
 Deep Docks 2nd location | There is another Flea that can be located in Deep Docks. This time it’s in the upper section of the area. However, as you will need a jump aid to get there, the area will not be available to you right away. You will need to unlock Swift Step by exploring Deep Docks to be able to platform here. Once you reach the topmost section, use your dash to reach a leve. Hit it to lower a counterweight and then climb onto reach the Flea. |
 Far Fields | The Far Fields Flea is located on the very left side of the area. However, to properly access it, you will need to get your hands on the Drifter Cloak, which you obtain after further exploration. Once you have the cloak, head left of Far Fields to eventually reach a semi-dark cave. The Ant-Warriors will ambush you here, so take them down and then free the Flea. |
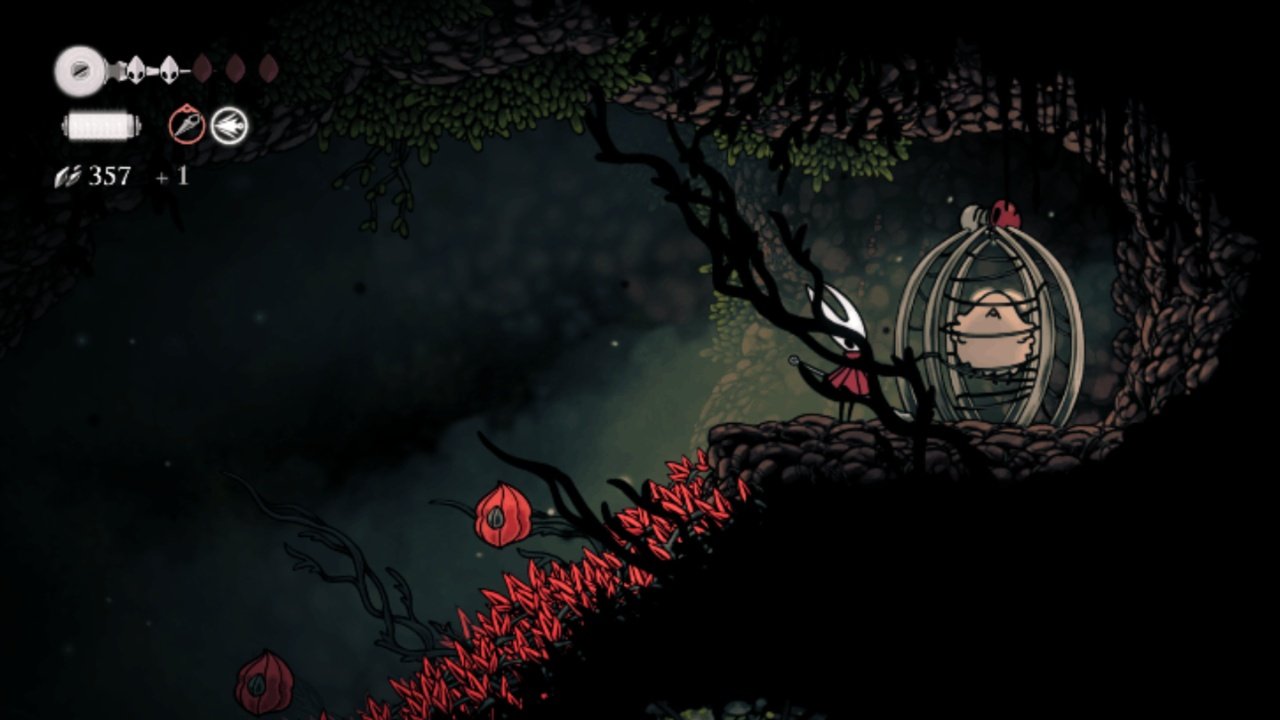 Hunter’s March | The next Flea is in Hunter’s March, and it’s a very platform-heavy area of the Pharloom. As you enter the area, you will need to consistently pogo jump on the red flowers that are heading up towards the cage. You will need to perfect your timing here, and only then will you be able to reach the Flea. |
 Greymoor | The final Flea is located to the very right of the rightmost house in Greymoor and will need you to clear the house and activate the Baloons that you can Pogo Jump off of. Once you clear the house, activate the lever after being ganked by a mob, and then use the balloons to reach the Flea. |
Once you have freed all the Fleas, you will then get the reward, which will let you choose if you want to ride with the Flea Caravan. If you do choose that option, you will completely get to skip the Moorwing boss encounter as the caravan will take the boss’ place. Apart from this, you will also get 3 bottles of Flea Brew along with reserves that can be filled when going back to the caravan and interacting with Grishkin.
The following trophies are also a part of the quest:
| Trophy | Requirement |
|---|---|
| Silver/Flea FinderG: 10 | Rescue half of Pharloom’s lost fleas |
| Gold/Flea friendG: 15 | Rescue all of Pharloom’s lost fleas and receive their final gift |
My Missing Courier
| Quest Giver | Bellhart Wishwell |
|---|---|
| Quest Location | Bellhart |
| Objective(s) | Find Tipp |
| Rewards | Unlock additional Wares in Bellhart Store |
You accept the quest through the Bellhart Wishwell. While you get it in that location, you complete the quest in Bone Bottom. Once you have the quest, head through the Wormways and then out of the top exit of the map. Then slide down the left corner with the use of the Drifter’s Cloak to descend on the location.
While this is the more straightforward way of getting here, another way of reaching the location will be through Shellwell. After entering Moss Grotto, jump to the left side to find Tipp.
You will notice that the NPC is surrounded by many bugs. Defeat them to be able to interact with Tipp and round out the quest.
There is no direct reward for completing My Missing Courier; however, you will be able to unlock the following purchaseable items in the Bellhart Store:
| Item | Price | Effect |
|---|---|---|
 Multibinder | 880 | Increases Bind duration but also increases heal amount. |
 Spool Fragment | 270 | Increases the spool size per set completed. |
| Shard Bundle | 50 | Consume to gain 80 shell shards. |
Pinmaster’s Oil
| Quest Giver | Pinmaster Plinney |
|---|---|
| Quest Location | Bellhart |
| Objective(s) | Give Pale Oil to Plinney of Bellhart |
| How to Unlock | Talk to Pinmaster Plinney after upgrading your pin once. |
| Rewards | Pin Upgrade |
To start the Pinmaster’s Oil Wish, you will need to talk to Plinney in Bellhart after you have upgraded your needle once. You will then be tasked to find a container of Pale Oil for him.
To get the Pale Oil in Hollow Knight Silksong, you will need to complete the Great Taste of Pharloom quest (covered under Gather Wishes below). This quest is obtained in The Citadel, and you will need to obtain 5 delicacies in Pharloom, which can then be used to make the ultimate dish for Mergwin’s master. Once you have completed the quest and gained access to the Choral Chambers, you will find the Pale Oil in the eastern part of the chambers.
However, to get there, you will need to solve the Whispering Vaults puzzle. The goal will be to attack platform to push them along the rails and make a path that leads upwards and to the left.
Once you solve the puzzle, hit the lever to open up the path ahead. You will soon find a glowing orb there, which is the Pale Oil.
After you have completed the Pinmaster’s Oil Wish, you will be able to upgrade Hornet’s needle for a second time.
The Wandering Merchant
| Quest Giver | Songclave Wishwell |
|---|---|
| Quest Location | Songclave |
| Objective(s) | Rescue Jubilana |
| How to Unlock | Ring the Bell of First Shrine, then wait for it to become a Sonclave |
You accept the Wandering Merchant Wish by interacting with the Sonclave Wishwell after you have activated the First Shrine bell and have unlocked it as a Sonclave.
To round out the quest, you will need to find the missing merchant Jubilana. You will be able to locate her in a room on the left of the Choral Chambers. It is just to the right of the Citadel Spa mark.
The area is dark, and you will be swarmed by mobs. Defeat them all to save Jubilana and round out the quest. Once you have completed the wish, you will unlock Jubilana as a merchant and gain access to the following wares:
| Item | Price | Effect |
|---|---|---|
 Ascendant’s Grip | 350 | Improves heal amount but increases Bind duration. |
 Mask Shard | 750 | Adds an additional piece to a full health mask. |
 Simple Key | 750 | Used to open simple doors in Pharloom. |
 Rosary String | 80 | Consumed permanently to gain 60 Rosaries. |
My Missing Brother
| Quest Giver | Pill |
|---|---|
| Quest Location | Bellhart |
| Objective(s) | Locate Tipp in Sinner’s Road |
| How to Unlock | Unlocked after completing My Missing Courier wish |
| Rewards | Unlock Tipp and Pill’s Shop in Bellhart |
This Hollow Knight Silksong wish is only available after you have completed My Missing Courier and have unlocked the Citadel. Tipp will be missing again, and his last reported area will be around Greymoor. However, once you start tracking him, you will see that it leads to Sinner’s Road.
You can access the area by taking the elevator from Greymoor’s Zone, which is located beside the Halfway Home, and then ascending. Once up, you will need to head right and then up into the second room. It’s a large vertical room with multiple jails hanging in it.
You can poggo jump up to reach Tipp, who can be seen hiding from the guards in the zone. Defeat the guards, and you will have rounded out this wish in Hollow Knight Silksong.
As a reward, you will be able to complete deliveries in Bellhart after having access to Tipp and Pill’s Shop.
Trail’s End
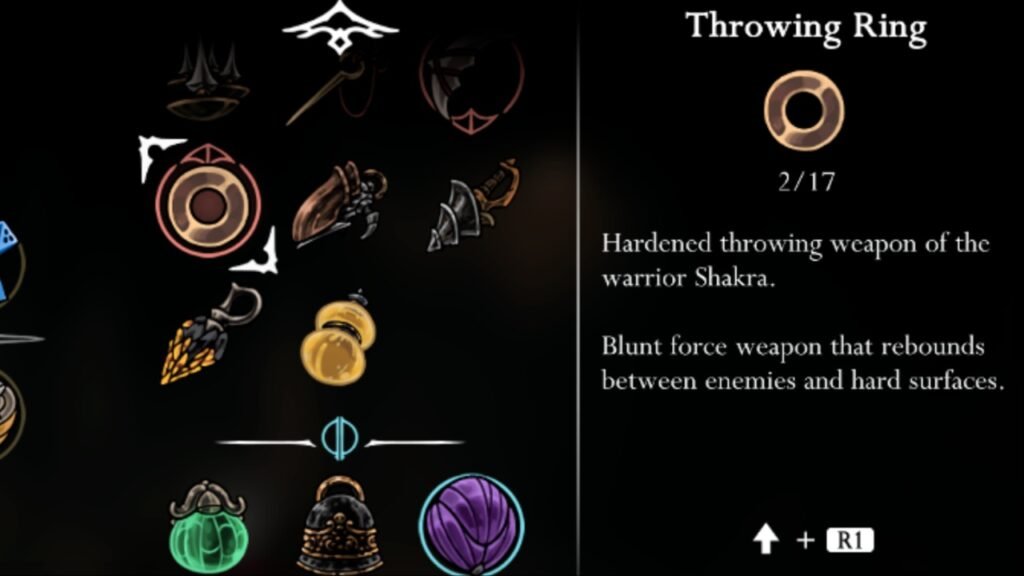
| Quest Giver | Shakra |
|---|---|
| Quest Location | Bellhart |
| Objective(s) | Track Shakra’s location in Bilewater |
| How to Unlock | Purchase all of Shakra’s Maps |
| Rewards | Throwing Ring |
You start the Trail’s End Wish by accepting it from the Belhart’s Wishboard. You will then be tasked to track Shakra in the northernmost part of Bilewater.
The first thing you will need to do to trace her is to either defeat Groal the Great or unlock the bench on the north side of the map. If you haven’t done that, you will want to unlock the bench to the west.
You will need to navigate through the platform till you finally encounter this bench.
Once you have found Shakra and completed Trail’s End, she will then reward you with the Throwing Rings, which is her signature weapon. When used, the weapon bounces off enemies and hard surfaces, making it great for clearing out ranged mobs.
Rite of Rebirth
| Quest Giver | Greyroot |
|---|---|
| Quest Location | Shellwood |
| Objective(s) | Purify the Parasite |
| How to Unlock | Talk to Greyroot after obtaining the Twisted Bud |
| Rewards | Witch Crest |
You will get this Wish from Greyroot once you have obtained the Twisted Bud in Hollow Knight Silksong. However, do note that once you do start the quest, you will lose access to your Charms, Healing, and the ability to change crests at any time. But once you complete the quest, you will obtain the Witch Crest, which is one of the best Crests in the game.
Step 1: Get the Twisted Bud
As mentioned, to start the quest, you will first need to obtain the Twisted Bud. The item is obtained in the Bilewater area, and to reach it, you will need to unlock the left zone of the Whispering Vaults. There is a secret pathway there that will lead you to the item. Don’t try entering this area through the Putrified Ducts or the Sinner’s Road.
Step 2: Get infected by the parasite
Once you have the Twisted Bud, start the quest by talking to Greyroot in Shellwood. This will initiate the Rite of Rebirth, where you will get infected by the parasite and wake up in a tunnel that is hidden inside Shellwood. Escape the area by heading left and then going south to reach The marrow. From there, go to Bone Bottom to gain access to the Bell Beast Station.
Step 3: Find Yarnaby and accept the Infestation Operation
Use the station to head into Greymoor and look for Yarnaby, the doctor, to try to cure you of this parasite. You will find the NPC in the upper left corner of Greymoor, and once you interact with them, you will then need to accept the Infestation Operation quest (details of the quest in the point below).
Complete the quest and then head back to Yarnaby. The doctor will then operate on you, helping Hornet recover and rounding out the Rite of Rebirth questline.
Once you have completed the Wish, you will obtain the Witch Crest. It’s the same Crest you were using while under the influence of the Parasite. But you can freely use and customize it now.
Infestation operation
| Quest Giver | Yarnaby |
|---|---|
| Quest Location | Greymoor |
| Objective(s) | Purchase Steel Spines from Crull and Benjin in Sinner’s Road |
| How to Unlock | After accepting the Rite of Rebirth, talk to Yarnaby in Greymoor. |
| Rewards | Completion of Rite of Rebirth Wish |
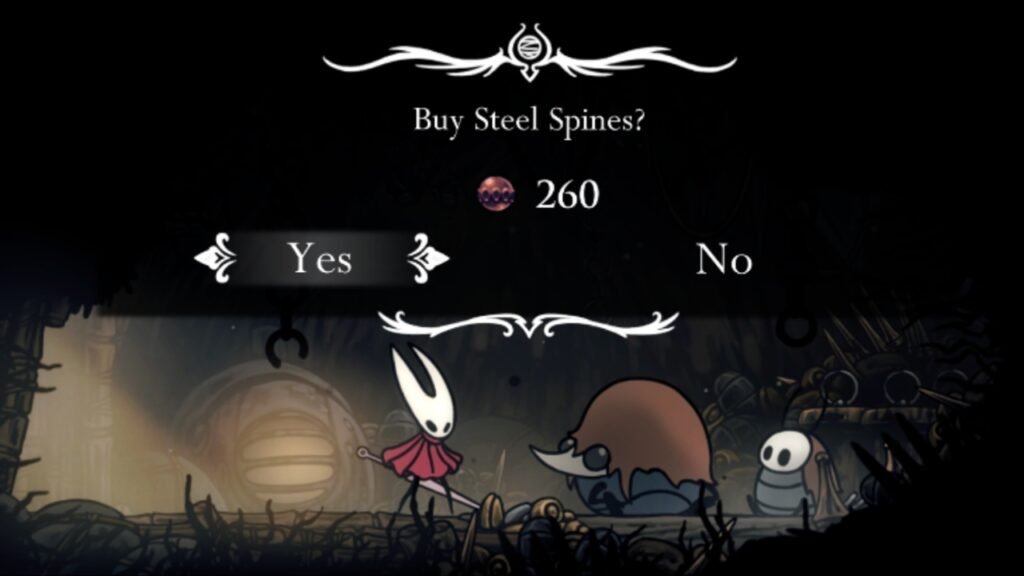
Infestation Operation is a part of the Rite of Rebirth questline. Once you are infected by the Twisted Bud parasite, head to Yarnaby in Greymoor and take on this quest. The doctor will then task you with purchasing Steel Spines from Crull and Benji, who are located on Sinner’s Road. You will find them in the upper corner of the map, from the jail area, just do some platforming to reach them.
Once you find them, interact with them to purchase Steel Spines for 260 Rosaries. Then head back to Yarnab, get through with the operation, and obtain the Witch Crest to round out both Infestation Operation and Rite of Rebirth.
Final Audience
| Quest Giver | Songclave Wishwell |
|---|---|
| Quest Location | Songclave |
| Objective(s) | Defeat the Second Sentinel in High Halls |
| How to Unlock | Meet the Second Sentinel Twice in the Citadel |
| Rewards | Reserve Bind |
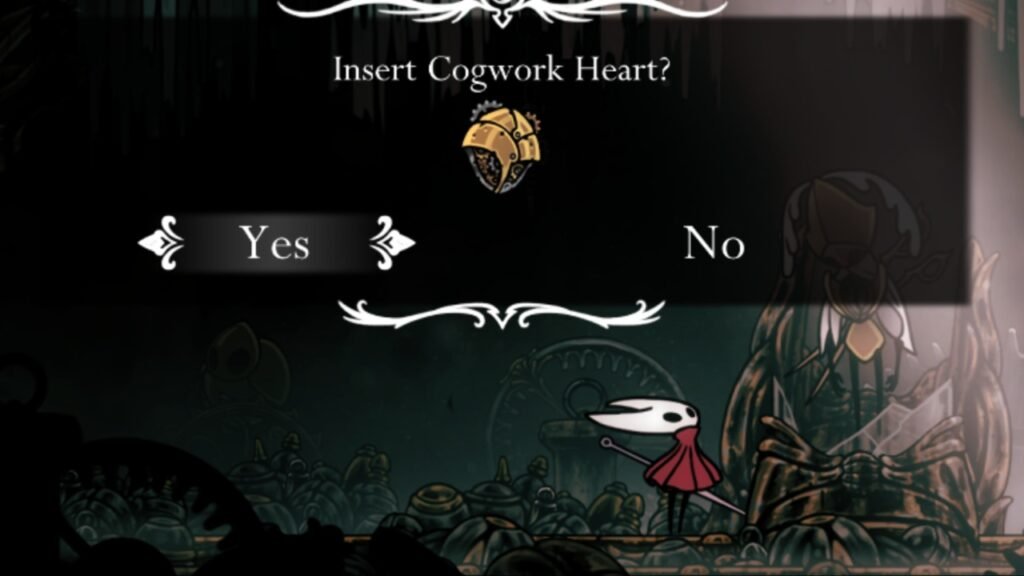
The first thing you will need to do to complete this quest is to get your hands on the Cogwork Heart. You will be able to get the heart by obtaining the Cogwrok Heart pieces and then merging them together to get the item.
After obtaining the Cogwork Heart, you will need to use it on the Second Sentinel, which can be located in the Cogwork Core. Once you have awoken the Second Sentinel, you will need to accept its wish in the Congclave Wishwell. If the wish does not appear right away, you will need to then look for the Second Sentinel in The Citadel. As their location will be random now, you will need to roam the area to finally spot them.
Once you have obtained the quest, you will now find the Second Sentinel in the room just above the bench in the High Halls. Defeat them here to round out the Wish and obtain the Reserve Bind as a reward.
When used, the tool will let you Bind an additional time if you don’t have the required amount of Silk.
Balm for the Wounded

| Quest Giver | Songclave Wishwell |
|---|---|
| Quest Location | Songclave |
| Objective(s) | Look for Sherma in the Whiteward |
| How to Unlock | Appears after talking to Sherma a few times in Songclave |
| Rewards | Spool Fragment |
The Balm for the Wounded questline will not be available if you have not talked to Sherma multiple times in Songclave. Once she starts talking about helping other people instead of just providing prayers, you will notice that her quest has popped up in the Songclave Wishwell.
Once you take on the quest, you will need to track her main location to find a room there that you can enter. Once in the gauntlet, it will start, and you will need to take on waves of enemies.
Once you have taken them all out and completed the quest, you will be rewarded with a Spool Fragment.
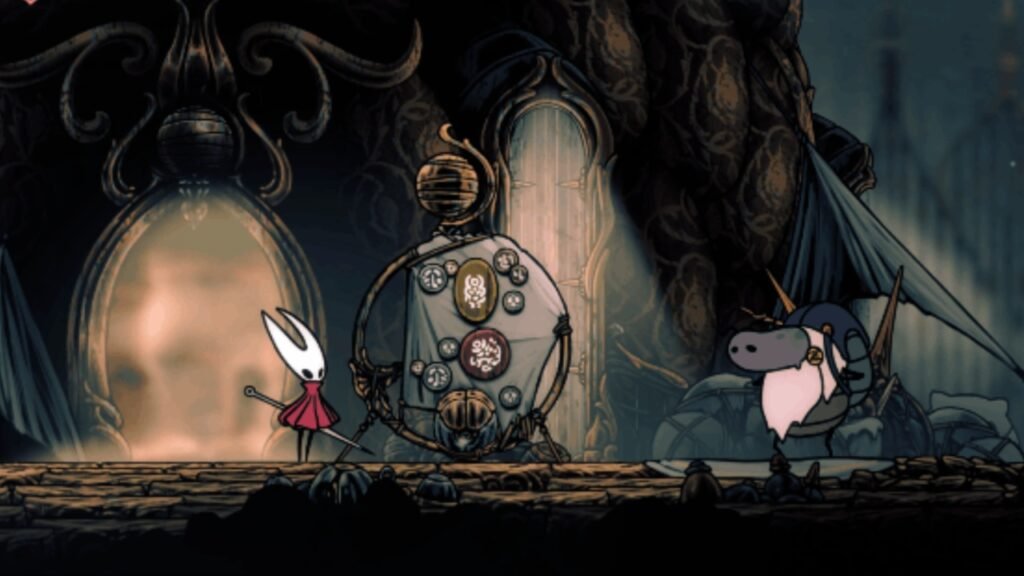
Silk and Soul
The Silk and Soul questline is part of unlocking Act 3 in Silksong. Click on this detailed Act 3 guide link to know everything there is, about the quest.
All Delivery wishes and quests in Hollow Knight Silksong
Here is a list of all Delivery wishes, quests, and rewards in Hollow Knight Silksong:
Pilgrim’s Rest
| Quest Giver | Tipp and Pill |
|---|---|
| Quest Location | Bellhart |
| Objective(s) | Deliver Supplies to Mort’s Pilgrim’s Rest |
| How to Unlock | Finish My Missing Brother and My Missing Courier |
| Rewards | Rosaries |
Pilgrim’s Rest is a Wish that you get from Tipp and Pil after completing their respective requests. Once you start the quest, you will then need to deliver Supplies to Mort’s Pilgrim’s Rest. However, do keep in mind that your delivery is fragile and will be affected by how much damage you take and run into obstacles. You will need to be very careful when platforming.
It’s best to clear all the mobs along the way before starting the Wish. Once you do complete it, you will be rewarded with 125 Rosaries.
Songclave Supplies
| Quest Giver | Tipp and Pill |
|---|---|
| Quest Location | Bellhart |
| Objective(s) | Deliver Supplies to Songclave Caretaker |
| How to Unlock | Finish My Missing Brother and My Missing Courier |
| Rewards | 160 Rosaries |
All delivery quests are similar in Silksong. So just make sure you are taking all of the delivery supplies from point A to point B. Make sure not to fast travel, or receive any damage, or it will damage the supplies.
After completing the quest, you will receive 160 Rossaries as a reward.
All Gather wishes and quests in Hollow Knight Silksong
Here is a list of all Gather wishes, quests, and rewards in Hollow Knight Silksong:
Berry Picking
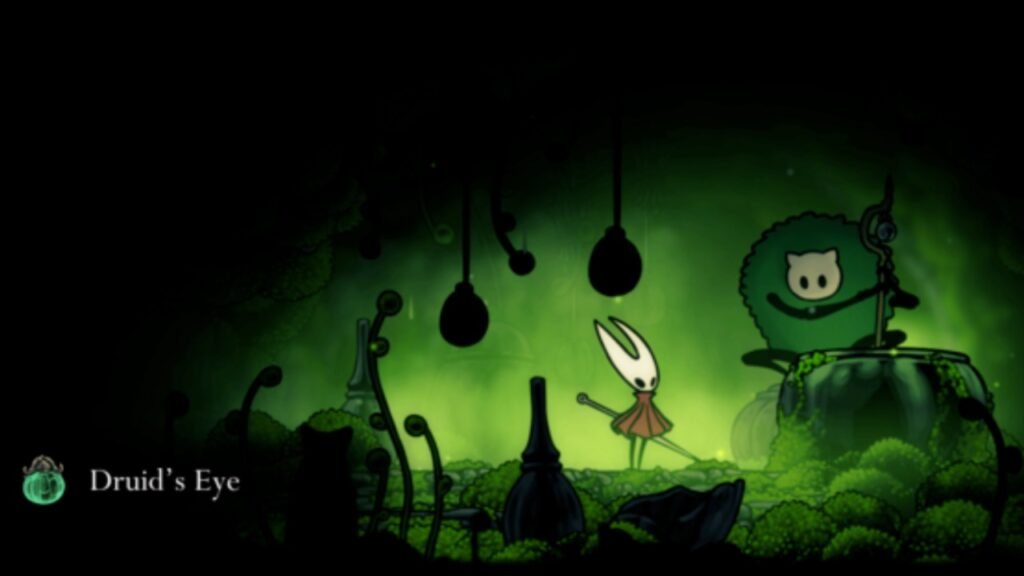
| Quest Giver | Moss Druid |
|---|---|
| Quest Location | Moss Home |
| Objective(s) | Collect Mossberry |
| Rewards | Druid’s Eye |
After you get the quest from the Moss Druid, you will need to find Mossberry for NOC from four different locations:
| Mossberry | Location |
|---|---|
| Mossberry 1 | To find the first Mossberry, you will need to head to the south-west part of Moss Brotto. When here, use the platforms to head to the elevated part of the zone. Then make your way to the upper right corner to find the berry. |
| Mossberry 2 | Head up the Moss Grotto. You will not be able to get here with the usual means, and you will need to use the enemy bugs as an additional platform to reach this location. This can be done by using a downward strike on the enemy. |
| Mossberry 3 | This one is relatively easy to get. Just exit the Moss Druid’s lab and head down the path till you are prompted to jump down to the lower platform. Push through the wall here to find a hidden zone. Go in, beat the bug with the glowing mouth, and collect the Mossberry. |
| Mossberry 4 | Make your way to the west of Bone Bottom and activate the lift there that leads to a shortcut to the chapel. Below the platform and near the lift, you will find a bug with a shining mouth. Beat it to get the final Mossberry. |
Once you have all the Mossberries, make your way back to the Moss Druid and cash them in to obtain the Druid’s Eye.
Rite of the Pollip
| Quest Giver | Greyroot |
|---|---|
| Quest Location | Shellwood |
| Objective(s) | Gather 6 Pollip Hearts |
| Rewards | Pollip Pouch |
Rite of the Pollip is a wish given to you by Greyroot, who can be located to the southwest of the central bench in Shellwood. You will first have to use the lift and then climb up to reach the area that the NPC is in.
After getting the missions, make sure that you have the Cling Grip ability, which will help Hornet gain the wall jump function. You will need it to reach the locations of the 6 Pollip Hearts.
| Pollip Heart | How to Reach |
|---|---|
| Pollip Heart 1 | From the resting bench in the center of Shellwood, you will need to climb the platforms to the left and then enter a room. You will find some white flowers you can poggo jump off of to reach the Pollip at the top. |
| Pollip Heart 2 | From the bench in the center of Shellwood, take the lift, which is to the right, to reach the northern part of the zone. Here, you will need to enter the room to the right in order to reach a platform sequence leading to the upper left zone. You will eventually reach Sister Splinter, where you will need to go to the passage to the top, and then head up and then left. You will notice a Pollip Flower here that you will need to destroy to open a hidden area with another Pollip flower in it. This flower drops the Heart. |
| Pollip Heart 3 | From the bench in the center of Shellwood, you will need to climb right and then enter the first passage, which is to the right, heading into Bellhart. Jump down then the platform to find a breakable wall. Take it down to find a Pollip. |
| Pollip Heart 4 | From the bench, drop down to the right and then glide to the right side of the area again. Here you will see a set of platforms that you will need to climb to reach the flower. |
| Pollip Heart 5 | From the bench, this time head north-west and then keep following the path till you reach a room. Here, climb the platforms without entering the room, and you will notice the Pollip floer once you cross the center of the room’s platforms. |
| Pollip Heart 6 | From the bench, now enter the bottom room, which is to the left. You can use the lift to reach the bottom part of the area. Now jump on top of the lift and continue platforming as you make your way north-east. As you reach the upper corner of the room, you will find the final Pollip there. |
After completing the Rite of the Pollip, you will get your hands on the Pollip Pouch, which is a charm that provides poison effect on your tools. This is a great charm to use against enemies who have a lot of HP.
Silver Bells

| Quest Giver | Bellhart Wishwall |
|---|---|
| Quest Location | Bellhart |
| Objective(s) | Collect 8 Silverbells |
| Rewards | Rosary Necklace |
The Silver Bells quest is accepted through the Bellhart Wishwall after you have taken down Sister Splinter in Shellwood.
The objective will be to obtain Silver bells which can be found roaming all ovet the map in the tunnels to the north and south of Bellhart. These items can spawn randomly and can also appear in areas that you have already visited.
Use the path near the Bellwa fast travel point to have a better chance of getting all 8 of them in one go. As there are no specific spawn points, you will have to keep exploring thmap to find them.
Once you have obtained the required number of Silver Bells, you will complete the Wish to obtain a Rosary Necklace, which, when consumed, will provide 120 Rosaries.
Alchemist’s Assistant
| Quest Giver | Alchemist Zylotol |
|---|---|
| Quest Location | Wormways |
| Objective(s) | Find 3 Plasmium Plants |
| How to Unlock | Talk to Alchemist Zylotol in the Wormways |
| Rewards | Plasmium Phial |
To start the Alchemist’s Assistant quest, you will need to interact with Alchemist Zylotol in his lab, which is located in the top left area of Wormways. It’s a very unique section of the area, and once you reach it, you will be able to take on the quest, which will task you with finding 3 Plasmium Plants.
Here is a list of all Plasma Plant locations and how you will be able to get them:
| Plasmium Plant Location | How to reach |
|---|---|
 Upper Wormways | The first Plasma Plant can be located right below Zylotol’s lab. It’s in the part of the upper network of canals in the Upper Wormways. The Plasmium can be found near the cave-in. |
 Bonegrave Path | Head to the end of the Wormways towards the Bonegrave Path. You will find a green trail here with a Plasmium at the end of it. |
 Lower Wormways | For the final Plasmium Plant, you will need to reach the end of Lower Wormways. However, do keep an eye out for the worms who are trying to block your path. You will have to avoid them the best you can. Along with the worms, you will notice spikes as well, so make sure you are navigating the area without getting hit. |
Once you find the Plasmium plants, you will need to use the Needle Phial that Zylotol has given you to extract the flowers. Just charge the Needle Phial and hit the plant to be able to collect it. Once you have collected all three plants, head back to Zylotol to cash them in.
Once you round out the quest, you will receive a Plasmium Phial as a reward along with 20 reserves of it. Plasmium Phials work similarly to Lifeblood masks from the previous game. It will give Hornet some non-regenerative health.
You can also use the concoction with other tools to provide them with different effects.
Great Taste of Pharloom

| Quest Giver | Loyal Mergwin |
|---|---|
| Quest Location | The Citadel |
| Objective(s) | Gather a Mossberry Stew, Vintage Nectar, Courier’s Rasher, Crustnut, and Pickled Muckmaggot |
| How to Unlock | Immediately available after talking to Loyal Mergwin |
| Rewards | Pinmaster’s Oil |
The Great Taste of Pharloom Wish is obtained from Loyal Mergwin after you have started Plinney’s Wish to get the Pinmaster’s Oil. However, before starting the quest, there are a couple of prerequisites that you will have to meet:
- Get the Grapling Claw: This tool will dash further across the map and even cling onto metal rings around the map. You will need to use it to access the area that has the Crestnut.
- Get the Faydown Cloak: The Faydown Cloak will let you jump an additional time while in mid-air. It will let you access areas whihc was not accessible before including the area containing the Pickled Muckmaggot.
- Round out the Missing Brother Wish: Completing the Missing Brother Wish will unlock delivery missions in Bellheart. The brothers will offer you Courier’s Rasher, which is one of the items needed for the Great Taste of Pharloom.
Once you have met the requisites, it’s time to find the required items for the dish:
| Grand Taste of Pharloom Item | How to Get |
|---|---|
| Mossberry Stew | You will need to talk to the Moss Druid, who can be located on the upper right part of the Mosshome region in Bone Bottom. If you see a thick green fog emanating from a chamber, you will know that you are in the right place. |
| Vintage Nectar | Head to Halfway Home and interact with Creige. The NPC will sell you the Vintage Nectar for 480 Rosaries. However, to finally get the item, you will need to defeat the red ants. |
| Courier’s Rasher | After completing the Missing Brother Wish, head to Tipp and Pill in Bellhart to buy the item. Note: You can complete the delivery by bringing the Courier’s Rasher to Mergwin in The Citadel. However, the delivery item needs to be in peak condition when received. Using transportation means like the Bell BEast will cause the item to break. If Hornet gets damaged by an enemy or environmental hazards, the item will break as well. |
| Crustnut | Head to Sand of Karak, which can be found directly above the Blasted Steps. You can reach this location through the Pinstress’ home and then head to the northwesternmost part of the Blasted Steps. Then use the Grappler on the Rings to reach the Sands of Karak and obtain the item. |
| Pickled Muckmaggot | The Pickled Muckmaggot is obtained after you have beaten the Disgraced Chef Lugoli. You will find the boss in Sinner’s Road after heading to the bottom part of the boss’s zone and then using a double jump to reach the area at the back. |
After completing the Great Taste of Pharloom, you will be able to obtain the Pale Oil to round out the Pinmaster’s Oil quest line, allowing Hornet to upgrade her pin a second time.
All Donate wishes and quests in Hollow Knight Silksong
Here is a list of all Donate wishes, quests, and rewards in Hollow Knight Silksong:
Bone Bottom Repairs
| Quest Giver | Flick the Fixer |
|---|---|
| Quest Location | Bone Bottom |
| Objective(s) | Donate 200 Shell Shards via the Wishwell |
| Rewards | Visual Update to Bone Bottom Camp |
This quest will be posted by Flick the Fixer on the camp’s Wishwell at the very start of the game. The goal will be to donate 200 Shell Shards to fix the camp, and you can talk to Flick the Fixer to gain more context on the request. He will also tell you that he will start a Wishboard for all the requests.
The 200 Shell Shards can be easily obtained after you have explored every single area till you reach Deep Docks. Shell Shards can be farmed in deposits or by killing enemy bugs. It’s a bit grindy to obtain all 200 of them, but you are likely to collect the sum while you are exploring Pharloom.
Once you have obtained the sum, interact with the Wishboard to start the quest and then finish it by donating the amount. Once done, as a reward, you will see changes in the dialogue and environment of the area.
A Lifesaving Bridge

| Quest Giver | Wishwell |
|---|---|
| Quest Location | Bone Bottom |
| Objective(s) | Donate 300 Shell Shards |
| Rewards | Spawns a new Bridge in Moss Grotto |
This Wishwell task will be unlocked after you have reached the Greymoor Zone. To complete it, you will need to donate 300 Shell Shards to complete a bridge in Moss Grotto. Just like with Bone Bottoms Repair, all you will have to do is top explore the map, take out bugs, and farm deposits to obtain the required amount.
Once you have it, make the deposit, and you will then be able to spawn a new bridge in Moss Grotto. However, do keep in mind not to hit the bridge, as that will break it. Once it breaks, you will have no other way of respawning or crafting it again.
Restoration of Bellhart
| Quest Giver | Bellhart Wishwell |
|---|---|
| Quest Location | Bellhart |
| Objective(s) | Donate 250 Rosaries |
Once you have 250 Rosaries, you will be able to accept and complete the Restoration of Bellhart in one go. Once the quest is rounded out, you will notice that repairs have gradually started in the Bellhart region.
Building up Songclave
| Quest Location | Songclave |
|---|---|
| Objective(s) | Donate 300 Rosaries |
| How to Unlock | Ring the Bell of First Shrine |
Completing the Building up Songclave will require 300 Rosaries to complete. It’s a pretty sizeable sum and you will need to prepare this amount beforehand by farming enemies and looking for deposits.
So once you have the amount, just accept the quest from the Songclave Wishwell and complete it right away. Once the donation is made, you will officially open up the Songclave. This will also trigger other Songclave-related Wishes to pop up as you explore the game.
To start building up the Songclave, you will first need to establish an area around The Citadel, which is known as the First Shrine, and you activate the quest by ringing its bell. Once done, the area will change into Songclave after some time, and you will be able to start the questline when you come back after some time.
An Icon of Hope
| Quest Giver | Bonebottom Wishwell |
|---|---|
| Quest Location | Bone Bottom |
| Objective(s) | Donate 440 Shell Shards |
| How to Unlock | Reach Act 2 and Go to Bone Bottom |
| Rewards | • Hornet Statuette • Flick Statue |
This Donate Task is available at the start of Act 2 when you go to Bone Bottom. The task will require you to give up 440 Shell Shards to the camp in order to improve its conditions.
Like with the previous tasks, it’s best to farm bugs and look for deposits to rack up the sum. Once you have it, you can interact with the Bonebottom Wishwell Board to accept and simultaneously compete An Icon of Hope.
Once you have rounded out the mission, you will be given a Hornet Statuette by Flick Flicker. It’s a symbolic gesture that you have in your inventory; however, you can break it for 60 Shell Shards. But breaking it will make you forever lose the memorabilia.
Apart from this, Bone Bottom’s environment will be updated again and a Flick the Fixer statue will be placed infront of the town.
Bellhart’s Glory

| Quest Giver | Bellhart Wishwell |
|---|---|
| Quest Location | Bellhart |
| Objective(s) | Donate 400 Rosaries |
| How to Unlock | Complete Restoration of Bellhart and reach The Citadel |
| Rewards | • Bellhome Key • Hornet’s Bellhome |
Bellharts Glory is available only after you have completed Restoration of Bellhart and have reached The Citadel. As it’s a Donation Task, it’s best to have 400 Rosaries on you, and then visit the Bellhart Wishwell to simultaneously start and complete the wish.
Once you have made the donation and rounded out the quest, talk to Pavo near the Bellhome Bellway Station, and you will receive the Bellhome key, which will then let you unlock the remaining locked houses.
Apart from this, Horner will also receive a final Bellhome as a reward. The place doesn’t have gameplay value and is just a way of appreciating the efforts that Hornet has put into restoring Bellhart.
All Learn wishes and quests in Hollow Knight Silksong
Here is a list of all Learn wishes, quests, and rewards in Hollow Knight Silksong:
Bugs of Pharloom
| Quest Giver | Nuu |
|---|---|
| Quest Location | Greymoor |
| Objective(s) | Take down 100 Unique Enemy Bugs |
Bugs of Pharloom is a Learn Wish that will be provided to you by Nuu on the Halfway Home in Greymoor. You will need to examine the top part of the house to find him, and he will task you to take down 100 unique bug enemies.
It’s a quest that you should not be looking to actively complete. Just play the game, explore new areas and every inch of the map, take down the bosses, and you will automatically start to fill out the entries.
All Grand Hunt wishes and quests in Hollow Knight Silksong
Here is a list of all Grand Hunt wishes, quests, and rewards in Hollow Knight Silksong:
The Terrible Tyrant

| Quest Giver | Wishboard |
|---|---|
| Quest Location | Bellhart |
| Objective(s) | Defeat a Skull Tyrant |
| Rewards | Heavy Rosary Necklace |
The Terrible Tyrant is a Grand Hunt Task that you obtain from the Wishboard after beating Sister Splint. To complete the quest, you will need to beat a Skull Tyrant, which can be found in The Marrow region. However, keep in mind that to get here, you will need Hornet’s Cling Grip, which will let her wall climb.
Once you beat the Tyrant, you will be rewarded with a Heavy Rosary Necklace. Consuming it will allow you to immediately gain 220 Rosaries.
Savage Beastfly
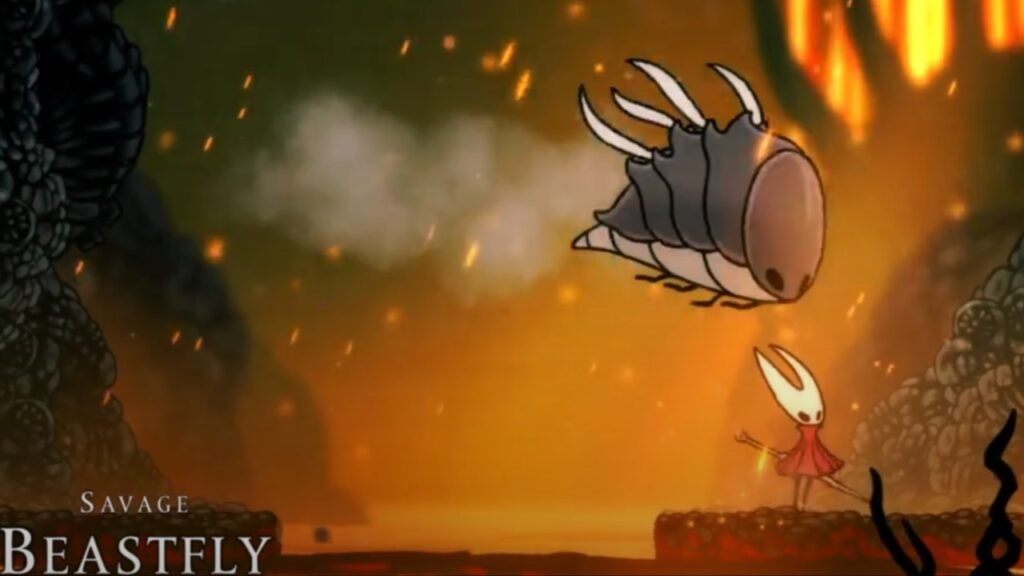
| Quest Location | Far Fields |
|---|---|
| Objective(s) | Defeat the Savage Beastfly |
| How to Unlock | Defeat the Beastfly in the Chapel of the Beast, then defeat the Cogwork Dancers |
| Rewards | Mask Shard |
The Wish is obtained from the Bellhart Wishwall only after you have beaten several bosses in the game, which include the base Beastly in the Chapel of the Beast and the Cogwork Dancers.
Once you have received the quest, head to Far Fields through the Bellways and then reach the Fourth Chorus boss arena. If the Wish is active, you will be able to start the battle with the Savage Beastfly.
Once the battle is over, you will be able to collect a Horn Fragment, which is a unique drop from this boss. Completing the quest will also net you a Mask Shard, which you can use to complete one of Hornet’s Life Masks.
The Wailing Mother

| Quest Giver | Songclave Wishwell |
|---|---|
| Quest Location | Songclave |
| Objective(s) | Defeat Broodmother in The Slab |
| How to Unlock | Complete Strengthening Songclave |
| Rewards | Heavy Rosary |
You will be able to track the Wailing Mother from the upper left corner of The Slab. You will be able to locate it by just following the goop that it leaves on the ground. So just follow it to reach the nest.
Once you encounter the nest, you will go up against the Brood Mother boss. You will need to look out for her goop during the encounter, as it will snare you if it hits. She will also call in other mobs to make things even more difficult for you. So make sure to take on the hazards first before you shift your focus to the boss.
After beating the Brood Mother, you will be able to obtain the Broodmother’s Eye, which you will need to leave at the Songclave Wishwell to round out the quest.
Note: The article is a work in progress, and we will keep updating it over time.