
The best Wand and Tome-Staff build will let you play out the role of a very powerful mage in Throne and Liberty. The combination excels at consistently dealing damage while boasting the ability to nuke enemy mobs in seconds.
The weapon class combination is also amazing at dealing with bosses making them the ideal pick for most party set-ups as long as there is a reliable tank in the frontlines who will peel for you.
So if you are looking to main the Wand and Tome-Staff setup in Throne and Liberty, here is one of its best build options that you should be trying out.
Wand and Tome-Staff build overview (Curses and Elements)
The “Curses and Eelements” Wand and Tome-Staff build makes the most of the two arcane weapons one of which will let you heal your character while the other will let you delete enemies with the use of elements. However, the build is a bit hard to master and you will need to constantly kite and position yourself well during fights.
This build is also great at solo-ing content and you will not have to keep booting up dungeons with a party or a guild. As long as you are hitting your rotations perfectly, you will cheese through most missions in the game.
When making the most of the build you will need to first max out Wisdom to 50 to increase your total Mana cap along with extending your Debuff Duration and lowering cooldowns. After you have maxed out Wisdom, you will need to invest points in Strength to increase survivability.
As this is a glass cannon build with next to no mobility you will need to have as much sustain as possible. After maxing Strength to 15, you will then need to invest points in Dexterity which you will need to take to atleast 30 as it will increase the Critical Rate chance of your abilities.
Best Skills and Specialization for the Wand and Tome-Staff build in Throne and Liberty
Here are the best Skills and Specializations that you should be focusing on for this build:
Active Skills:
 Inferno Wave Inferno Wave | |||||||
 Serial Fire Bombs Serial Fire Bombs | |||||||
 Chain Lightning Chain Lightning | |||||||
 Judgement Lightning Judgement Lightning | |||||||
 Touch of Despair Touch of Despair | |||||||
 Cursed Nightmare Cursed Nightmare | |||||||
 Karmic Haze Karmic Haze | |||||||
 Corrupted Magic Circle Corrupted Magic Circle | |||||||
 Curse Explosion Curse Explosion | |||||||
 Time for Punishment Time for Punishment | |||||||
 Swift Healing Swift Healing | |||||||
 Fountain of Life Fountain of Life |
Touch of Despair and Corrupted Magic Circle will be the first skills you will need to start prioritizing when starting this build as it will let your Wand and Tome inflict curses on the enemy and then exploit it with the Curse Explosion skill. This will be your bread-and-butter DPS combo before you start investing points in your Staff.
Once you level these up, you will need to start investing points in Swift Healing to improve your sustain. Then move on to Cursed Nightmare and Karmic Haze to maximize your skill rotations.
When you are done with the Wand and Tome part of the build you will now need to focus on the Staff to further increase your DPS and mob clearing speed. Searing Fire Bombs and Inferno Wave deal AoE damage while inflicting a DoT burn effect when combined with Touch of Despair and Curse expansion.
Finally, focus on Chain Lightning, another amazing AoE skill, which along with Judgement Lightning, will let you mow down mobs.
Passive Skills:
- Full of Corruption
- Devotion and Emptiness
- Wraith’s Beckon
- Noble Revival
- Mana Amp
- Asceticism
- Flame Condensation
- Forbidden Sanctuary
You will be distributing points equally for both Wand and Staff passives and focus on the ones that will improve survivability and synergize with the Active Skills of the build. Mana Amp and Asceticism will be the first passives that you will need to focus on. As the build is pretty mana-hungry the passives will help you with resource management.
Full of Corruption, and Wraith’s Beckon will further let you optimize the amount of damage that your curses do.
Defensive Skill:
- Mystic Shield
Best weapons for the Wand and Tome-Staff build
Here are the best weapons that you should be looking to farm for the Wand and Tome-Staff build, in Throne and Liberty:
Best Primary Weapon:
| Weapon | Best Traits | Effect |
|---|---|---|
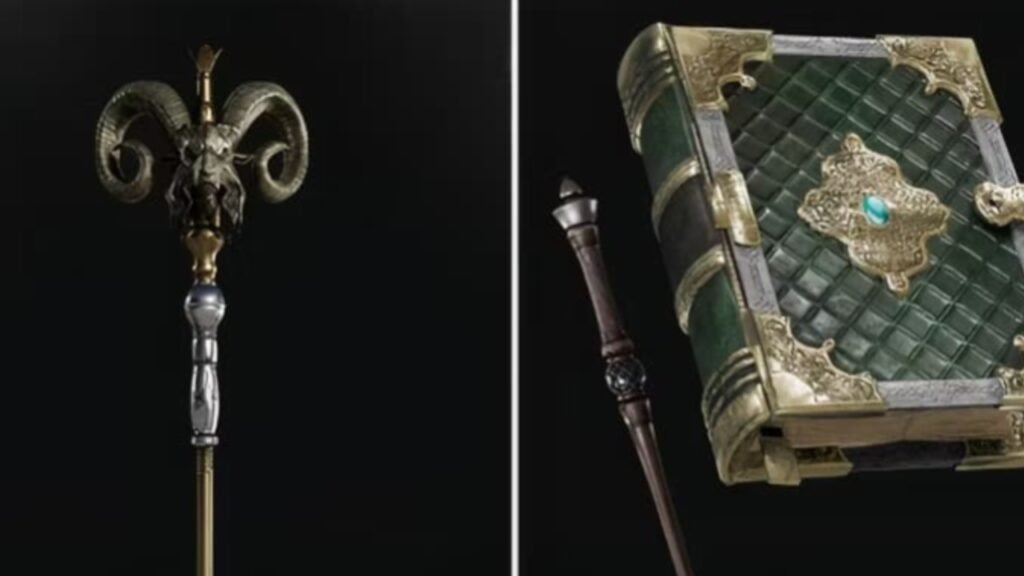
 Lequirus’s Coveted Tome Lequirus’s Coveted Tome | Critical Hit Heavy Attack Hit | When your Health goes below 20%, Stealth for 7.5s. Cooldown 120s. |
The Lequirus’s Coveted Tome will provide you will a significant boost to Wisdom, Perception, and Critical Hit, all of which are stats that you will need for optimal DPS. The passive effect of the weapon which is Lequirus’s Ambush will improve survivability by helping you go invisible when your health drops below 20%.
You will be able to acquire the weapon as a drop, by accessing the chest at the end of the Cave of Destruction Co-op Dungeon, or craft it as long as you have the following resources in your inventory:
- Dimensional Essence: Salvation x2
- Precious Mystwood x10
- Precious Magic Powder x10
- Precious Polished Crystal x12
Best Secondary Weapon:
| Weapon | Best Traits | Effect |
|---|---|---|
 Toublek’s Shattering Quarterstaff Toublek’s Shattering Quarterstaff | Cooldown Speed Heavy Attack Hit | Magic, Melee, and Ranged Critical Hit 30 ▲ per 1m of distance between you and the target |
Toublek’s Thunderous Quarterstaff will instantly give you a +10 boost to Dexterity thereby significantly increasing your critical hit rate. Its passive also helps improve Critical further based on how far away you are from your target. This lets you make the most of the backline playstyle that a proper mage usually favors.
The Epic Staff can be obtained as a drop from the Tyrant’s Isle dungeons or crafted, as long as you have the following resources:
- Dimensional Essence: Salvation x2
- Precious Mystwood x10
- Precious Magic Powder x10
- Precious Polished Crystal x12
Best Armor for the Wand and Tome-Staff build
| Armor | Best Traits |
|---|---|
 Visor of the Infernal Herald Visor of the Infernal Herald | ・Max Health ・Ranged Evasion ・Melee Evasion |
 Supreme Devotion Supreme Devotion | ・Max Mana ・Mana Regen ・Debuff Duration |
 Swirling Essence Robe Swirling Essence Robe | ・Mana Regen ・Magic Evasion ・Melee Evasion |
 Heroic Gloves of the Resistance Heroic Gloves of the Resistance | ・Max Health ・Ranged Evasion ・Magic Evasion |
 Breeches of the Executioner Breeches of the Executioner | ・Ranged Evasion ・Magic Evasion ・Debuff Duration |
 Swirling Essence Shoes Swirling Essence Shoes | ・Max Health ・Magic Evasion ・Move Speed |
The armor pieces you pick for the set will primarily revolve around Cooldown reduction so that yu have access to your abilities and rotations as soon as possible. It will also focus on Heavy Attack Chance to further maximize the damage of your spells.
Best Accessories for the Wand and Tome-Staff build
| Armor | Best Traits |
|---|---|
 Collar of Decimation Collar of Decimation | ・Max Health ・Skill Damage Boost ・Buff Duration |
 Ancient Saurodoma Bracers Ancient Saurodoma Bracers | ・Max Mana ・Mana Regen ・Debuff Duration |
 Sapphire Dimensional Band Sapphire Dimensional Band | ・Max Health ・Skill Damage Boost ・Buff Duration |
 Etched Alabaster Band Etched Alabaster Band | ・Max Health ・Skill Damage Boost ・Buff Duration[ |
 Belt of Endless Slaughter Belt of Endless Slaughter | ・Max Health ・Skill Damage Resistance ・Debuff Duration |
Much like with the armor set, you will need to find accessories and provide them with traits that will help minimize skill cooldowns so that your rotations are up even if you are missing your abilities on key targets.
Best Weapon Mastery
Pick the following weapon masteries for each half of your build:
Wand and Tome:
- Damage (9 Pts)
- Recovery (6 Pts)
Focus points on the Damage tree of Wand and Tome which will not only increase your DPS but also help with Cooldown reductions and maximize the potential of your Curses. Then invest points in Recovery to unlock Redemptive Penance which will help you get an 8% boost to all of your healing abilities.
Staff:
- Mana (6 Pts)
- Destroy (9 Pts)
By investing in the Staff’s Destroyer tree you will be able to reduce Cooldowns even further while increasing the consistency of Critical hits. Finally, invest in the Mana Tree to deal with the mana-hungry nature of the build.
Best Guardian for the Wand and Tome-Staff build in Throne and Liberty
| Guardian | Ability |
|---|---|
 Shade Revenant Stheno Shade Revenant Stheno | Launches 5 projectiles at random enemies within a 10m range every second. A single enemy may be hit with multiple projectiles at the same time. Each projectile deals 52% of Base Damage. |
Shade Revenant Stheno is the ideal guardian for this Wand and Tome-Staff build. This is because her abilities will let you launch 5 projectiles at enemies and each of them can deal critical hits.
As the build already relies on maxing Critical Hit chance, the Guardian can help you melt priority targets. Stheno is also one the perfect Guardian for the best Greatsword-Staff build in Throne and Liberty.
Best skill rotations
1) Best rotation for wave clear:
- Touch of Despair > Serial Fire Bombs (X3) > Inferno Wave > Chain Lightning > Touch of Despair > Time for Punishment > Cursed Nightmare > Corrupted Magic Circle > Touch of Despair > Karmic Haze > Judgement Lightning > Curse Explosion > Judgement Lightning.
2) Single target burst rotation:
- Touch of Despair > Time for Punishment > Serial Fire Bombs (X3) > Inferno Wave > Chain Lightning > Touch of Despair > Corrupted Magic Circle > Touch of Despair > Judgement Lightning > Curse Explosion > Judgement Lightning.
Pros and Cons of the “Curses and Elements” Wand and Tome-Staff build in Throne and Liberty
Pros:
- One of the best mage builds when it comes to clearing mob content and bosses.
- Has some sustain built into the kit, making it easier to survive damage if you get your spell rotations right.
- Fits most team compositions perfectly.
Cons:
- There is barely any mobility in the build and the play style revolves around the “stand and deliver” tactic.
- Glass cannon build which makes you susceptible to damage so you will have to weave in heals in between DPS combo rotations making the set-up hard to master.