
Escape from Duckov is an entirely single player affair, and features zero coop facilities to speak of. That being said, there do exist some alternative solutions (mods) that manage to enhance the game’s functionality, and introduce new ways to play the game.
You can find a breakdown on how to install the coop mod for Escape from Duckov, and its quirks below.
How to Install the Coop Mod for Escape From Duckov
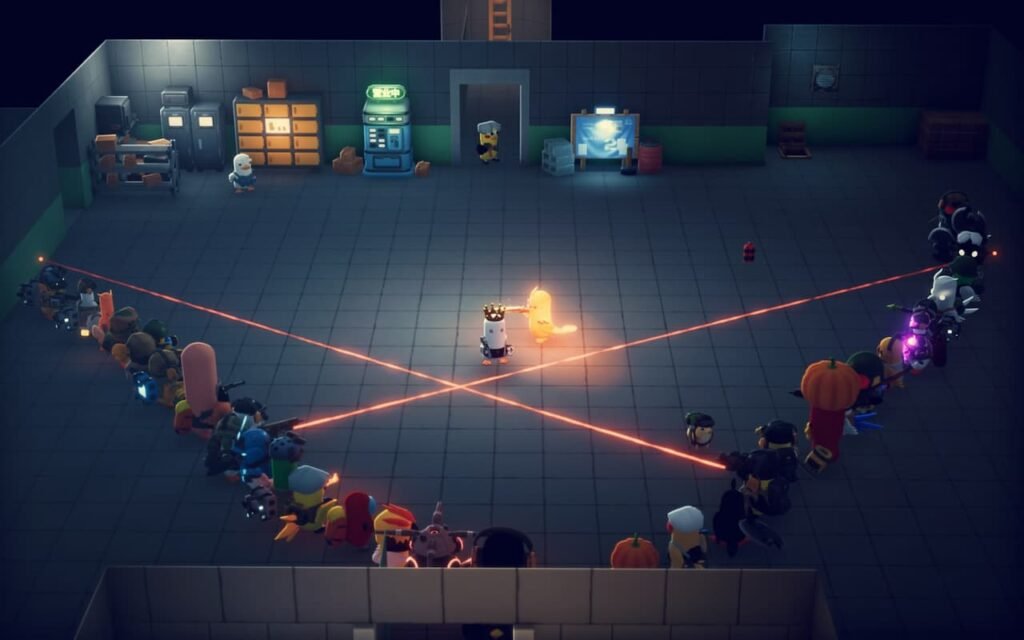
To install the mod, purchase the game on Steam first. While it is technically possible to sideload mods outside of Steam, Escape from Duckov features full support for the Steam Workshop, which makes adding in mods a whole lot easier:
- With Escape from Duckov installed and ready in your Game Library, head on over to this particular link.
- When you’re in the Steam Workshop page for the mod, scroll down till you see the green Subscribe button.
- Hit Subscribe, and the mod should be automatically added to your copy of the game.
- The coop mod has three dependencies (HarmonyLib, LiteNetLib, Debug CMD Mod and Co-Op Mod). Make sure to install all three when prompted to do so.
- Next, fire up the game.
- Head on over to the Mods section.
- Arrange the mods in the following order: HarmonyLib > LiteNetLib > Debug CMD Mod > Co-Op Mod.
- Next, restart your game and begin a new save game.
- Host a new network.
- Next, head back to your Hideout, and press the Home key to start a new server session.
- Have your friend bring up the same screen by pressing the Home key on their end too (they must have the mod installed). Have them enter your IP address (IPv4).
- Connect using the IP, and you should now be connected together in a coop session.
Do note that the mod is still a work in progress. As such, using a new save is perhaps for the best for now. There will be issues, so it might be worth patiently waiting until the devs iron them out.

