
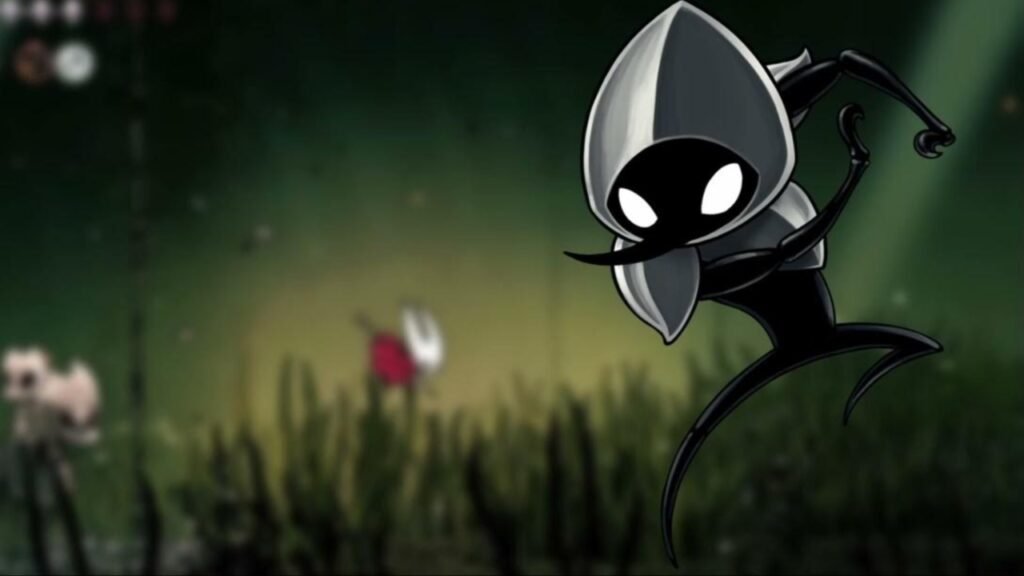
Hollow Knight Silksong contains some of the most challenging boss encounters, which will force you to not only be precise with your movements but also come up with different approaches to the encounter. Hornets’ base skillsets allow her to have a lot of verticality to her gameplay, which you will need to make the most of when it comes to these fights.
There are many bosses that you will come across during your time in Pharloom. Each time ramping up the difficulty level, the further you meet them in your journey.
So if you are looking to have an easier time beating the bosses in Silksong, then the guide below will help you out.
All bosses in Hollow Knight Silksong and how to beat them
Here is a list of all the bosses that we have found so far in Hollow Knight Silksong, their locations, some basic overview of their movesets, and how you should be playing around them:
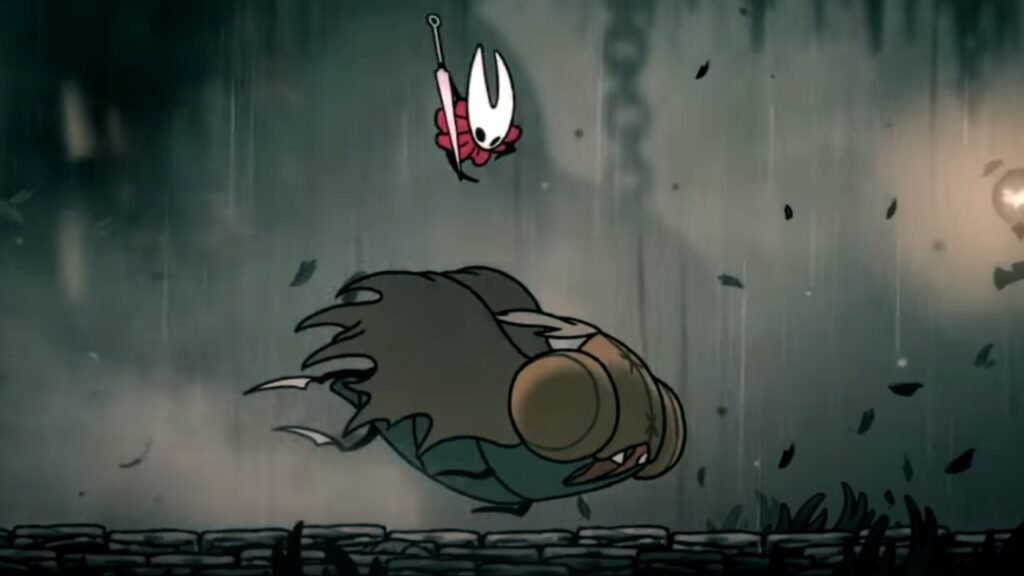
Moss Mother
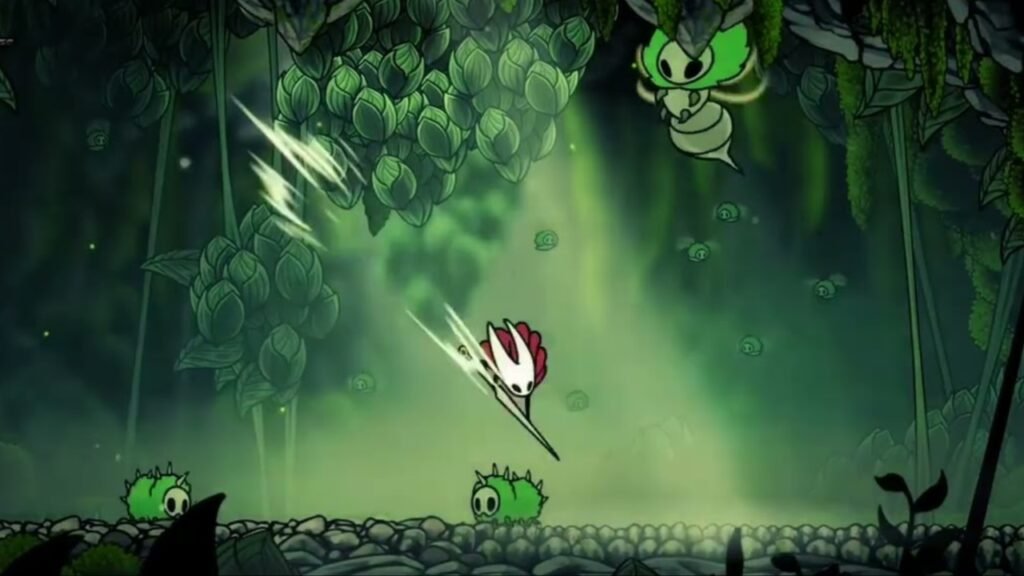
- Location: Moss Grotto
The Moss Mother is the first boss that you will encounter in the game. Similar to most other Metroidvanias, the first boss often acts as a skill check where you will need to showcase how well you have picked up on some of Silksong’s fundamental mechanics.
The boss hovers around the arena and comes with a set of varied attack patterns that can catch you off guard. One of her more dangerous moves is where she slams into the ceiling and then causes debris to fall down on you. You will often mix this in with swooping stinger attacks, so to counter her, you will need to be on top of your positioning.
If you see debris falling, keep moving to avoid it. If you see that she is swooping down for a sting, just perform a well-timed jump to dodge the attack.
Hornet can pretty easily stun Moss Mother with successive hits. So keep an eye out for the spinning halo effect, and make the most of these windows to get extra hits in.
During the latter half of the fight, once you have chunked a fair bit of her HP. Moss Mother will spawn crawling offspring. This dials the difficulty up quite a bit. But with a bit of practice, you will be able to deal with both the boss as well as the distractions.
Her offspring need two needle strikes to take down. So make sure to eliminate them first before moving on to the boss.
Bell Beast
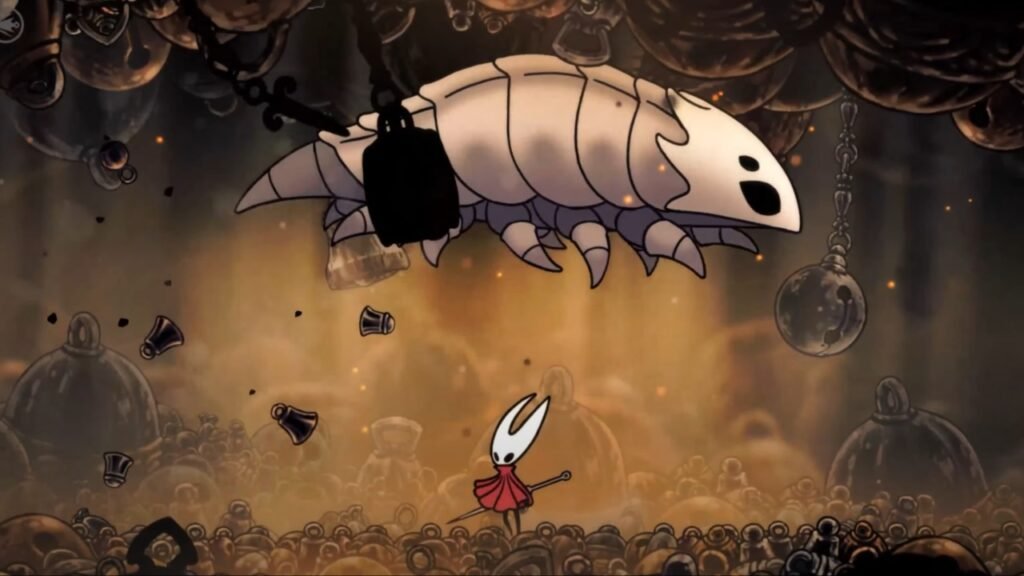
- Location: The Marrow
The Bell Beast will be a bit harder than Moss Grotto, and you will find the boss inside a silk cocoon. Once you free her, the encounter will begin, where the boss will burst out of the ground and charge at you.
While it might seem tricky to counter her, there are a few strategies that you can employ to make things a bit more manageable. When you see the Bell Beast is about to perform an underground charge attack, make sure to side step it (you will need to time it). Once you have dodged it, you will have a couple of seconds to get a few jabs in.
If you see that the boss is going to perform a leap attack. Dodge that by jumping up, and then perform a few fast combos as soon as she lands. The majority of the attack windows will be right after she performs a move, so keep punishing her long recovery time.
The Bell Beast’s trickiest attack is when she emerges from the ground for a burst of damage. This can easily catch you off guard, and you will want to move around the arena and keep your distance. Make sure to jump over the incoming bells as well.
The boss also shakes the ground at times, forcing bells to fall from the ceiling. So look out for the rays of light which indicate the position of the falling bells, and just move away from the spot if you are standing right below it.
After you beat the Bell Beast, you will be able to unlock her as a fast travel mount. So, compared to the previous game, you get to access the fast-travel feature much earlier in Hollow Knight Silksong.
Trobbio

- Location: Trobbio roams Pharloom searching for an audience.
When you encounter Trobbio during exploration, his boss fight will be quite similar to a stage performance. Here, Hornet will take up the role of his unwilling duo, and you will need to spar with him while he comes at you with some of the flashiest moves in Silksong.
You will face Trobbio pretty early on in the narrative, and much of is kit is designed around teaching you Hornet’s combat flow. Fighting him will give you a window to master spacing and timing, to help you have an easier time beating the harder late-game content.
Trobbio’s performance champions both style and power. He has a wing flap attack, where you spawn fireworks and shoot them all over the arena. These projectiles explode on impact, and you will need to keep dodging each of them.
The best way to react to his fireworks attack is to keep moving. This will then give you the room to bait out a Wing Swipe attack from him, where he sweeps down with his wings in a wide arc. This move has a sizeable hitbox, but can be easily avoided, and then you can punish the recovery window.
Trobbio also has a Stage Leap attack where he performs a dramatic hop to reach the other side of the arena. This is one of his flashiest moves in the encounter, and you can use this window to heal and get your bearings.
The best way to deal with Trobbio is not to rush in and just punish all of his attacks as soon as you dodge them. It’s more like a rhythm game with him.
Seth
- Location: Seth guards a secret base in The Citadel, ordered by an entity he calls “The Voice.”
The Seth boss encounter takes the difficulty up several notches in Hollow Knight Silksong. The boss itself is a tribute to Seth Goldman, who was a community manager for Team Cherry. The fight is quite demanding mechanically, and you will need to be on top of your spacing and reactions to be able to counter everything that Seth throws at you.
When the fight starts, you will think that breaking his guard will be the best way of taking him down. However, that is not the case, and if you are looking to constantly break his block, he will punish you for it.
So the best strategy will be to wait for the windows after he has attacked to get some hits in. The best move to punish is the shield-throw. This attack is well telegraphed, where Seth shifts into a sideways stance. So dodge the shield when he throws it, and move in to get some attack in.
Most of Seth’s playstyle revolves around the shield-and-pin technique, which will completely destroy you if you are rushing in and not spacing away from him properly. His pin has a surprising amount of range and can hit behind you if you are not careful.
Lace
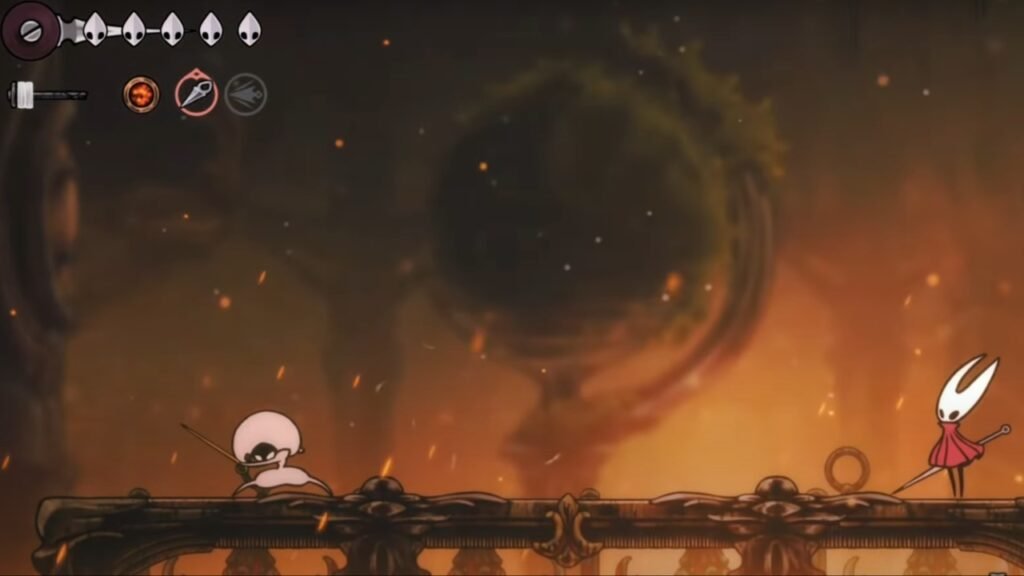
- Location: Lace makes two appearances as a boss, the first one is in Deep Rock, and the next one is in a bed of White Roses. Her movesets more or less remain the same in both encounters.
Where Seth was all about reacting to his moves and punishing them, to counter Lace, you will need to be proactive and keep predicting what she is going to do next. There is a flow to this encounter, and you will have to keep matching her mobility.
Lace has a basic Lunge attack that covers 60% of the screen. She will spam this often while combining it with a Double Cut attack, where she slashes twice. A good strategy against her will be to keep jumping and then striking as you descend. This will allow you to poke at her head often, stunning her, giving you the spinning halo for a larger window to get attacks in.
Lace’s two most devastating moves are the Parry & Flourish and the Whirlwind. During the former, she will hold her pin up to get into a defensive pose. She will hold this position for half a second, but if you strike her during this time, she will block all damage, then retaliate by dashing forward and then chaining a flurry of strikes.
If you get reposted, you will initially take one mask of damage. Lace will then hold you in place by the flurry for another slash, which will do another mask of damage.
The Whirlwind attack is sort of like her ultimate move. Lace will stand in place for some time to charge up the attack. A white circle will appear in mid-air, and after charging, she will perform 4 slashes in the highlighted area.
After the slashes, she will slam down. If you are caught in it, the initial slashes will do one mask of damage, with the slam taking away another mask.
Lace will only perform this move after you bring her down to a particular HP threshold. So if you are going for the aerial strategy where you are constantly leaping and striking, this is the move to look out for.
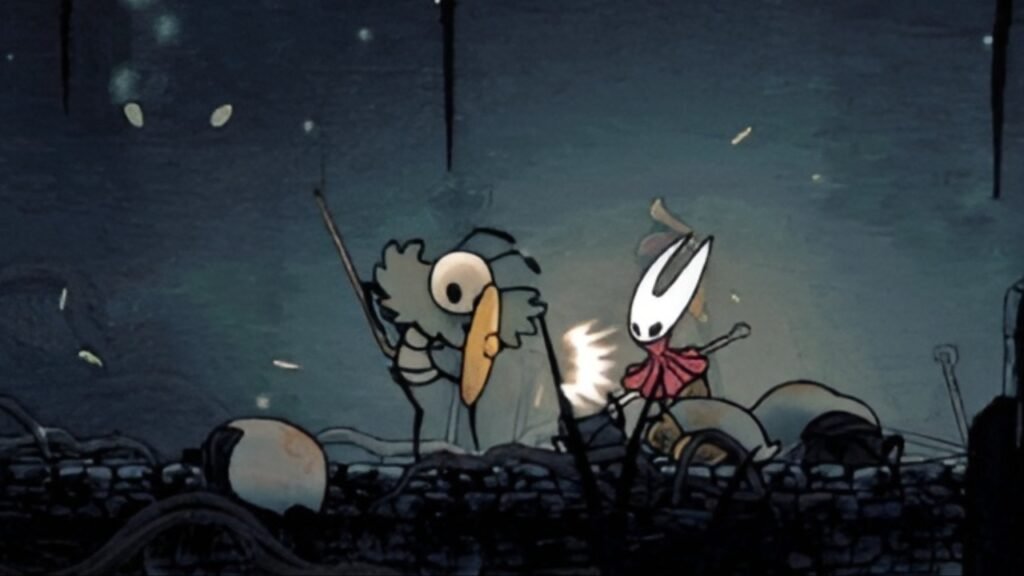
Sharpe
While Steel Assassin Sharpe is not as difficult as Lace, he is still very tricky to take down because of the number of ranged attacks that he comes with. He is capable of extending his proboscis out and then using it like a whip.
As Sharpe has made a name for himself as a bug hunter, his combat style reflects that, and he will keep coming after Hornet over and over again. You will have multiple encounters with Sharpe throughout your journey, where he is likely to keep ramping up the difficulty the further you get in the narrative.
To counter Sharpe, you will need to learn his attack patterns, wind-up time, as well as the overall hitbox reach of his proboscis. You will need to be precise with your jumps, as Sharpe’s attacks reach much further than you anticipate.
So if you jump too early or are not jumping back far enough, you will get hit with the tail end of the attack.
Sharpe also comes with a vertical strike, which will punish jump-hit strategies. However, it has a long wind-up time, and it will give you a window to move behind him and then punish the recovery.
Carmelita
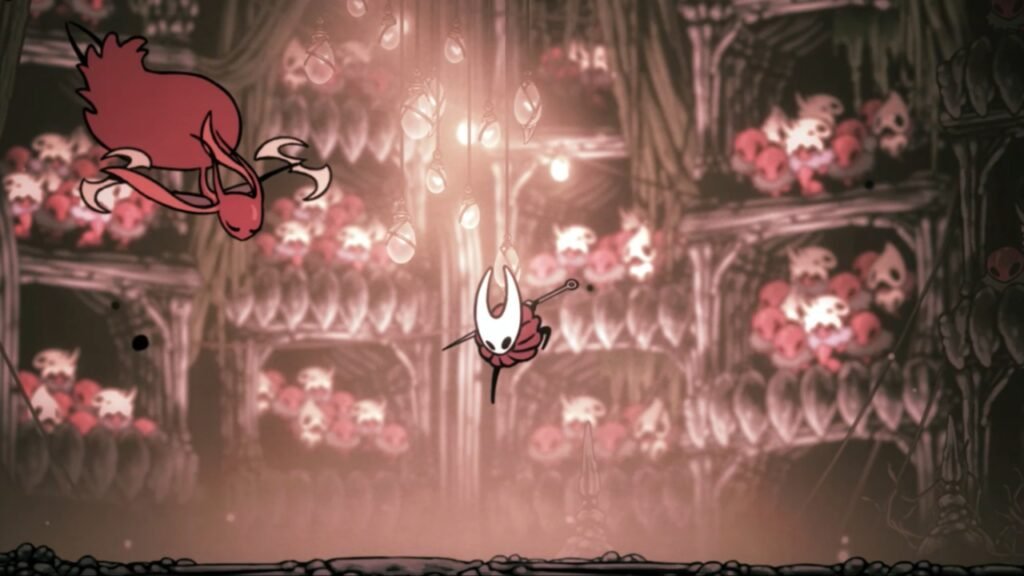
Carmelita’s encounter is a deadly dance performance. She is one of the most elegant bosses in Hollow Knight Silksong who performs rapid sets of moves with her twin daggers. She appears to be an ant queen, leading the tribe of ants, and all of her subjects are seen sitting in the gallery watching her performance.
The presence of an audience heightens her performance further, and she is capable of exerting a fair amount of pressure on Hornet, forcing her to constantly react to her speed and flurry of attacks.
As her combat flow is like a dance, you will need to tune into her rhythm to get the upper hand. After performing a barrage of attacks, you will often see her jumping into the air and then raining attacks from above.
When on the ground, she can also trigger ground spike eruptions, which makes it even more difficult to close the gap on her. She will often pull off the spike move after landing from an aerial barrage. It’s best not to rush into her after she lands, as the spike line will appear right ahead of her landing position.
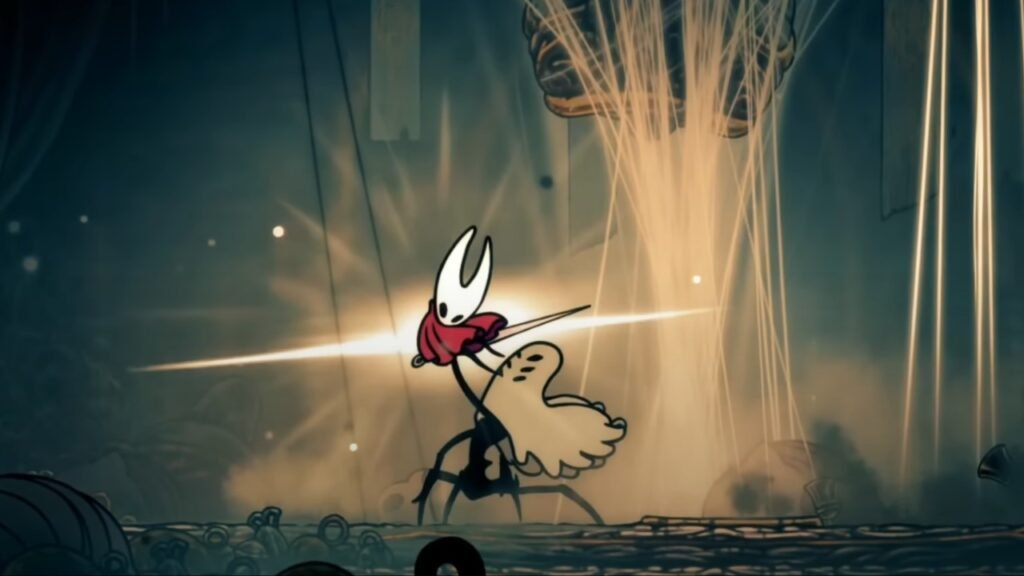
Last Judge
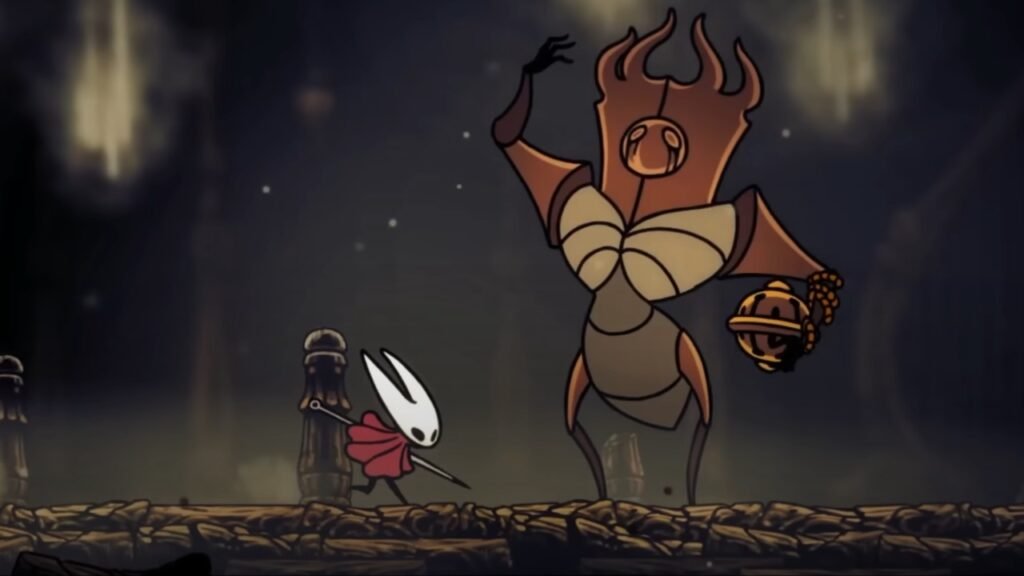
- Location: End of Act 1.
The Last Judge is the final boss of Act 1, and he is by far going to be the most difficult encounter in the game until that point. What makes him so much more menacing than the bosses that preceded him is his size and speed. While being one of the larger encounters, the Last Judge is very swift with his moves, and also comes with a war thurible which he keeps tossing at you while trying to close the game and bring you into his melee range.
To make things even more complicated, the thurible’s wind-up animation is very similar to his charge. So if he baits you into jumping, you will get hit by the weapon toss.
The Last Judge also has a range of fire attacks up his sleeve. Plumes of fire will burst from below the battlefield at the culmination of his charge, which will make it very difficult for you to rush in and immediately close the gap.
Additionally, after you take him down to a certain threshold, he will swing his weapon around, coat it in fire, and then swing it to create fire waves. He can create multiple waves, and the trick to avoiding them is to stand between the wave columns.
His jump and slam attack can also create fire eruptions, adding another element of difficulty to the encounter.
The last Judge also has a lot of HP, so the encounter will take you a considerable amount of time to master and complete.
Fourth Chorus
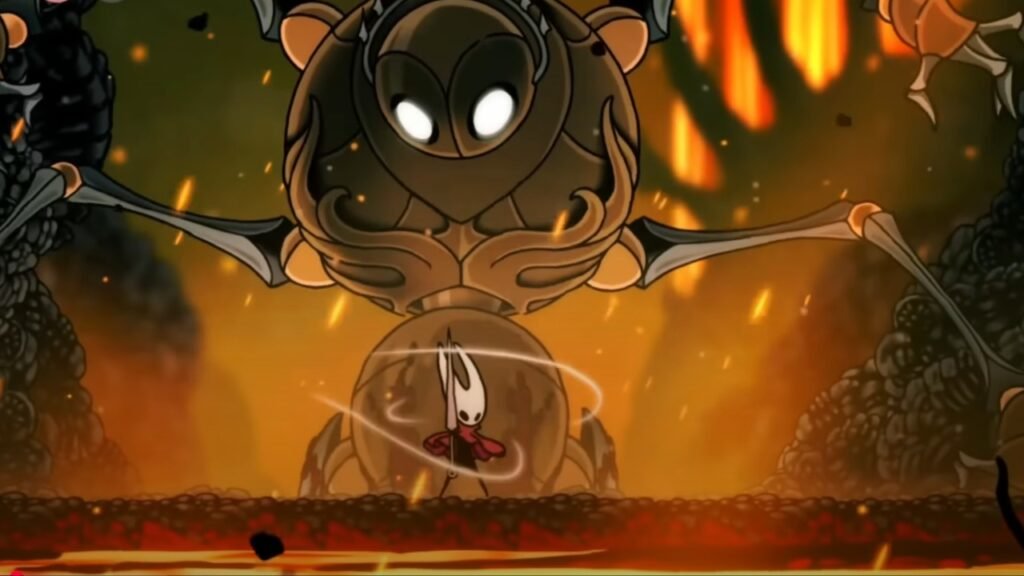
- Location: Far Fields
The Fourth Chorus boss encounter takes place on a lake of molten lava. The mech is a pretty big boss that does a lot of wide sweeps with its arms. The best way to counter it will be to jump over the incoming attacks and keep hitting its head.
Fourth Chorus will perform an Arm Swipe when its lower arms begin to flash. It will then sweep across the ground horizontally. The boss can often follow that up with an arm smash, where it raises its upper arms and, after a flash, it comes smashing down, destroying a part of the ledge. Fortunately, that destroyed section will reappear after some time.
One of Fourth Chorus’ most devastating moves is the Molten Bombardment, where it shrieks, making molten orbs fall from the ceiling. You will have to keep moving around to be able to avoid them.
A little later into the encounter, you will notice that wind currents will appear. The goal will be to use them to float up and hit the two slag heaps on the ceiling. Hitting these will cause a stalactite to fall down and damage the boss.
Moorwing
- Location: Greymoor
Moorwing is one boss that you can completely skip if you have done the Lost Fleas Wish. It will let you travel with the caravan, and the caravan will replace the boss in the location. However, if you are taking on the boss, you will notice that he has a lot of movies that are similar to Lace, especially when it comes to the multi-hit combos.
Moorwing’s Sickle Orb is what you will need to look out for the most. The boss throws out small orb projectiles that travel along the ground and are capable of hitting twice. He can also follow this up with Sickle Shred, where the boss will lunge forward and perform a shredding attack that hits multiple times.
You will need to learn Moorwing’s movesets and attack patterns in order to have an easier time dealing with the boss.
Skarrgard
- Location: The Marrow/Hunter’s March
Skarrgard is going to be a pretty hard boss to take on because of just how hard he hits you. The boss is a giant ant that guards the rightmost exit of The Morrow and has a variety of attacks that can catch you off-guard.
Fortunately, the boss is slow, but if its attacks land, it can take away two pips of your max HP. It also has a ground burst attack, where it will go underground, track your position, and then burst out dealing damage.
During the fight, you will need to keep moving around, dodging the ground attack as well as avoiding his axe swings and leap attacks. If he swings the axe horizontally, you can poggo and aim for the head, while for the leap, you will need to dash underneath him and get behind him so that you get some time to keep attacking him.
Savage Beastfly
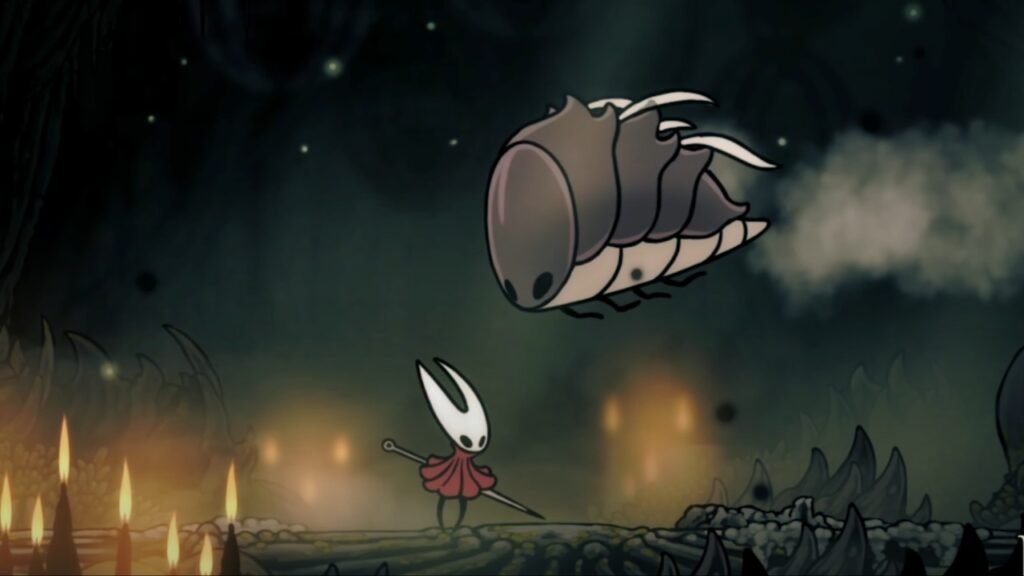
- Location: Hunter’s March
Once you take down Skarrgard, you will then have access to the Hunter’s March region. As you maneuver through the traps and eventually reach the Chapel of the Beast in the lower-right corner of the zone, you will encounter the Savage Beastfly.
The best way to go about dealing with this boss is to make the most of your tools, which allow you to attack it from range. This will make things a bit easier as you chip at its HP and make it easier to stun the boss.
Another good strategy is to attack its back when it flies closer to the ground. You can poggo off of it and keep pocking at its back to which will make it easier to stun the boss.
However, the Savage Beastfly will make the encounter harder by calling in more beetle mobs. This will force you to keep avoiding a bunch of additional hazards as you take on the boss, making it significantly harder to focus your attacks on the Savage Beastfl.
So, make sure to take on the mobs first before you move on to the boss.
Sister Splinter
- Location: Shellwood
Sister Splinter is not that difficult to take down if you have a good aerial game in Hollow Knight Silksong. Most of the time, all you will have to do is avoid her attacks, then jump up and hit her in the head.
There are moments where she will look to restrict the area in the arena by spawning thorn vines from the ceiling. You will want to hit the vines a couple of times to break them, and then keep up the pressure by attacking her head.
If you have done enough damage to her, she will she will get stunned and fall down. You will now have a pretty big window to hit her with some of your hardest attacks. So keep abusing this strategy, and you will then be able to take her down in no time.
Once you have beaten Sister Splinter, you will then unlock the path that leads to the Cling Grip ability. This ability lets you wall climb, which you will need later to reach important Wish items like the Pollip Heart.
Widow
- Location: Haunted Bellhart
To beat the Widow, you will need to constantly be on your toes. The boss will push you to the limits and test how well you have mastered all of the combat and movement mechanics in the game. The boss has numerous abilities built into its kit, and you will have to jump, slide, dodge, and wall climb to avoid all of its attacks.
The Widow has a Slash and Slide attack, which lets the boss slide across the floor, slashing with its claws. She also has a multi-hit Rip and Tear ability, which will do a lot of damage to you.
However, her trickiest attack is the Bounding Bells, where she creates straight lines and makes bells shoot along them. She can also follow this up with a bell barrage, where spiked bells will emerge from the ground, dealing damage. A good way of avoiding it will be to float in mid-air or use the walls to do a wall climb and then poggo jump to avoid the attack.
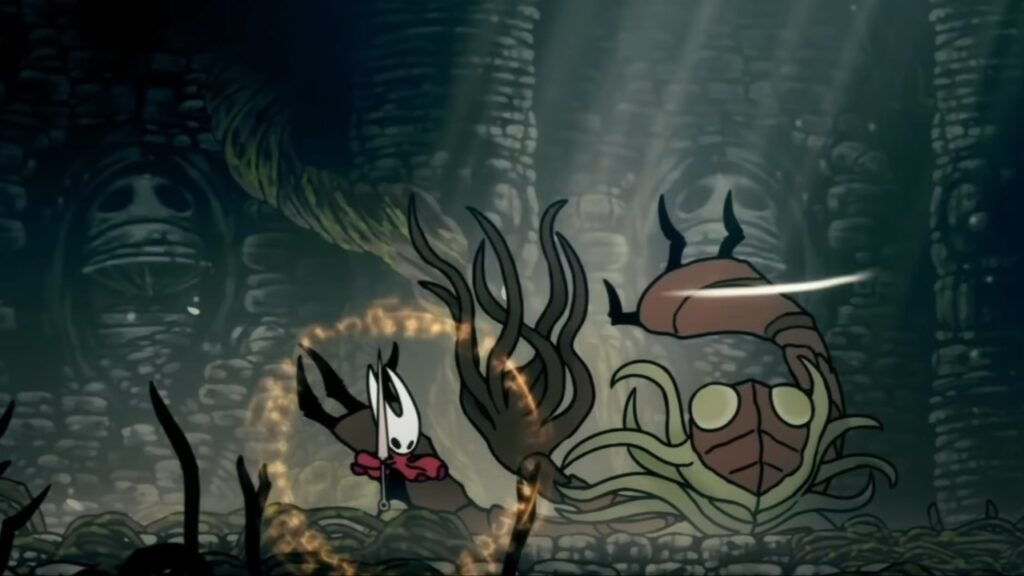
Great Conchflies
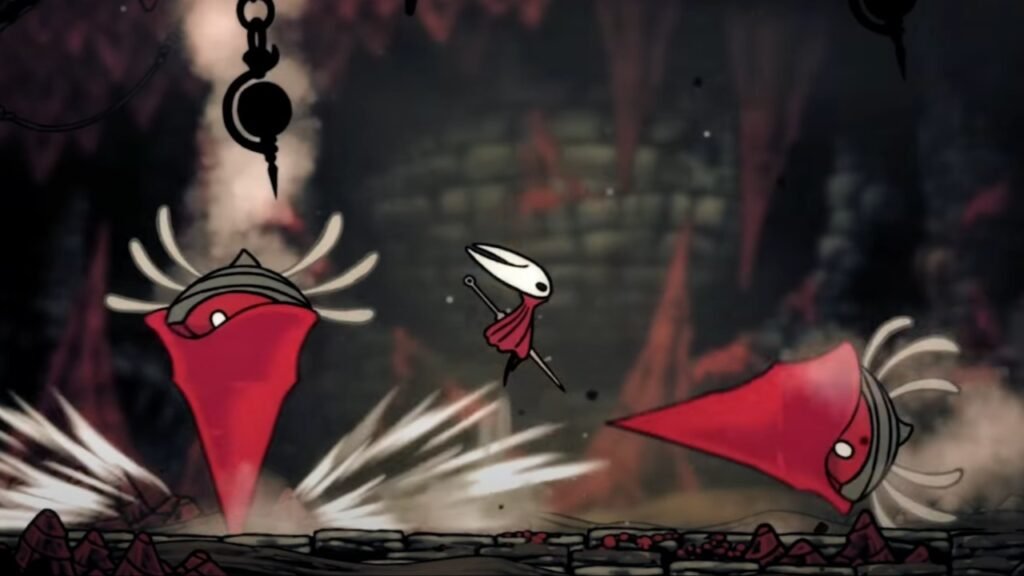
- Location: Blasted Sands
This is another optional boss that you will face in Hollow Knight Silksong. So if you are going up against it, make sure to learn their attack patterns. There is no set solution to this encounter, and you will constantly have to be on your toes and keep reacting to how they are attacking in order to avoid their attacks and then get some pokes in.
The two Conchflies move in tandem, attacking from all directions to catch you guard. They can attack horizontally, vertically, or even diagonally with projectiles.
You will need to be patient in this encounter and look for opportunities to go in with pokes. You will be able to clear the encounter after beating just one of them.
Note: This list is a work in progress. We will update it when we encounter more bosses in Hollow Knight Silksong.