
Like previous franchise entries, Monster Hunter Wilds too will not hold your hand when it comes to explaining some of the dos and don’ts of the game, so it’s very easy to make a lot of mistakes early on. These mistakes can ruin your early game progression and force you to have a rather bad time with a game that already has a steep learning curve.
So if you are a beginner and looking to have an easier time reaching the end-game loop in High Rank, then the guide below will help you out.
Mistakes you should be avoiding in Monster Hunter Wilds
Here are some of the top mistakes that you should avoid doing in Monster Hunter Wilds:
1) Sitting on your bounties
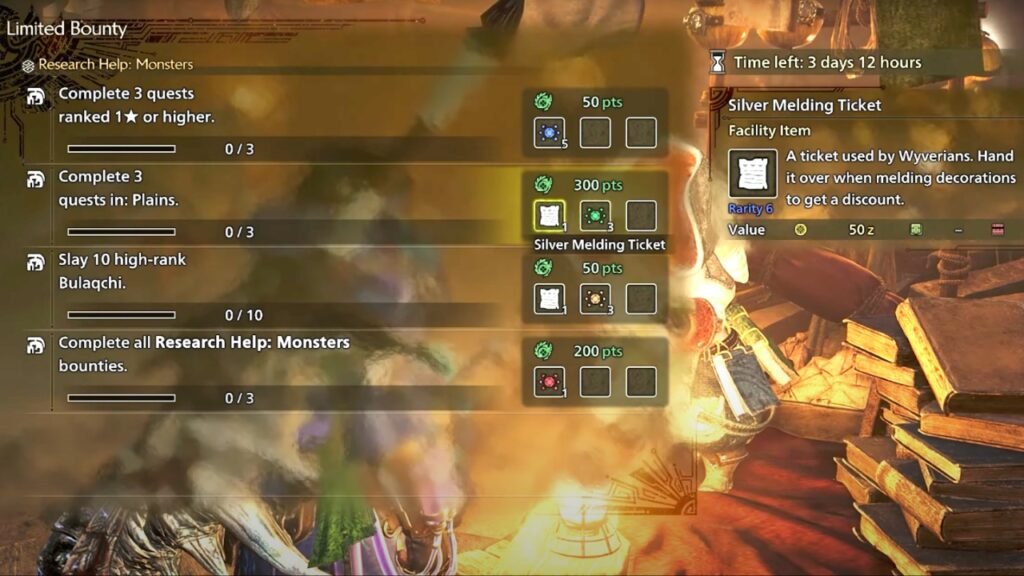
Do not sit on your bounties in Monster Hunter Wilds. Cashing in on your bounties will let you get your hands on a lot of good rewards that can actually help with progression. One such reward can be a SIlver Melding ticket which will let you craft a lot of Decorations at the Melder in Suja all at once.
You can look up your available and completed bounties by talking to the Supply Palico, every region base camp has one, and in the Windward Plains, it’s Conut.
While in Low Rank these bounties will provide you with low-grade crafting materials and armor sphere, as you reach High Rank the rewards get considerably better.
2) Ignoring your Side Quests
After you reach High Rank you will start to unlock a lot of Side Quests and NPC missions. These usually involve slaying a Tempered or Frenzied monster and will reward you with some crafting materials, food ingredients, hunting resources, and even open up trade options.
However, certain missions will unlock upgrades for the Palico, these are the quests that are handed out by your Palico themselves and will unlock special support tools like Attract Vigorwasps, Flashfly Cage, Plunderblade, and more.
Other NPC quests like “Smithy’s Seal of Quality”, task you to hunt a Lala Barina, which will unlock Gemma as a Hunting Assistant in the Scarlet Forest.
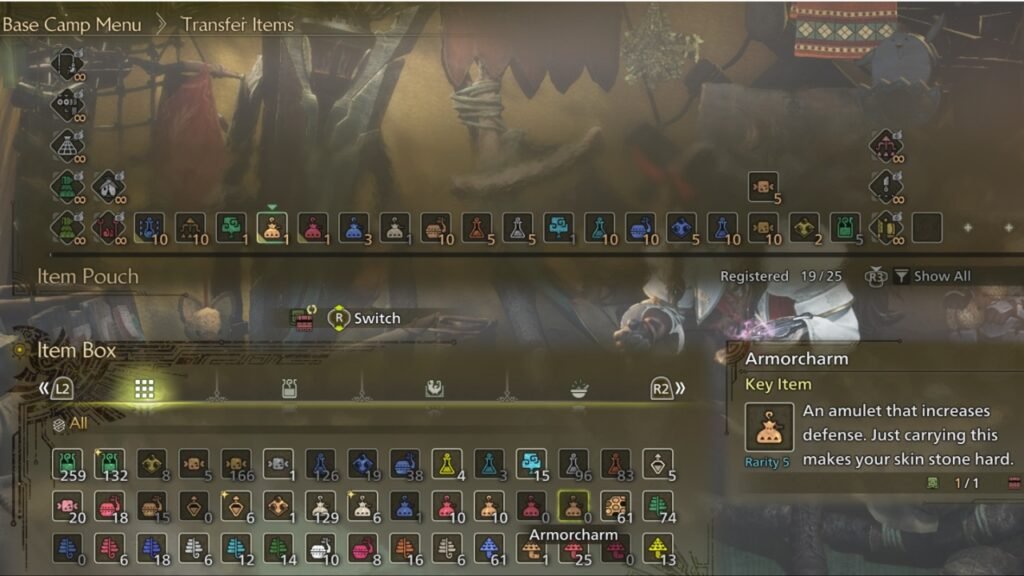
You will also unlock the Armorcharm and Powercharm by completing certain side quests in Suja. These charms when kept in your inventory will provide a significant boost to your attack and defense.
So try not to sleep on all the optional quests that High Rank starts to throw at you.
3) Not going for the Sneak Attack

Always start an encounter with a Sneak Attack, as it will give you a very nice opening where you do a lot of damage to the monster right off the bat. The perks of a Sneak Attack go further up when you have at least one point of the Ambush skill in your build.
After performing the attack, the Ambush skill will increase your damage for some time. You can get additional Sneak Attacks after using the Ghillie Mantle when the monster becomes unsuspecting.
The Sneak Attack system is a great of making certain fights significantly more manageable in Monster Hunter Wilds so make sure you make the most of it at the start of a hunt and every time your Ghillie Mantle is up.
4) Letting your Slinger Ammo go unused
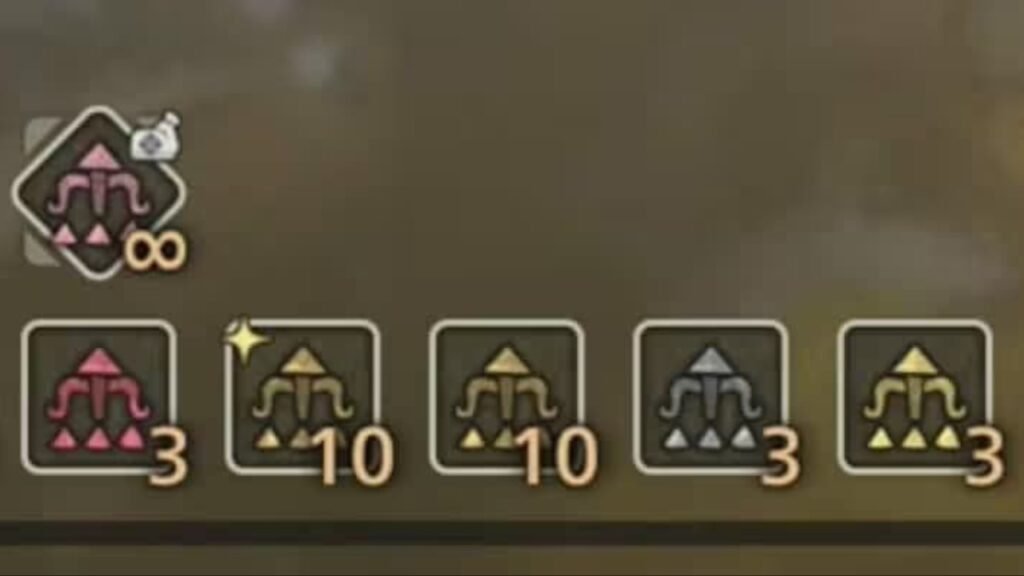
Apart from the usual Flashpod, Paintball, and Dung Pod, you will be able to get your hands on more pods as you explore the world and set out on hunting expeditions. Every pod has a different effect and can be useful based on the situation that you are in.
A Burst Pod for example will flinch monsters with both sound and impact, it’s great at knocking down flying monsters like the Guardian Rathalos. While you can use a Flash Pod to knock the monster down, they will eventually get resistant to it, so you will have to shoot them with pods to eventually bring them down.
Pods like your Watermoss will not only help illuminate areas but you can also shoot them in the mouth of a monster that has flame attacks to make it difficult for them to channel any sort of fire breaths or flame balls.
So make it a point to learn each of the effects and interactions that the different pods have with the monsters and the environment.
5) Not taking part in the Fishing minigame
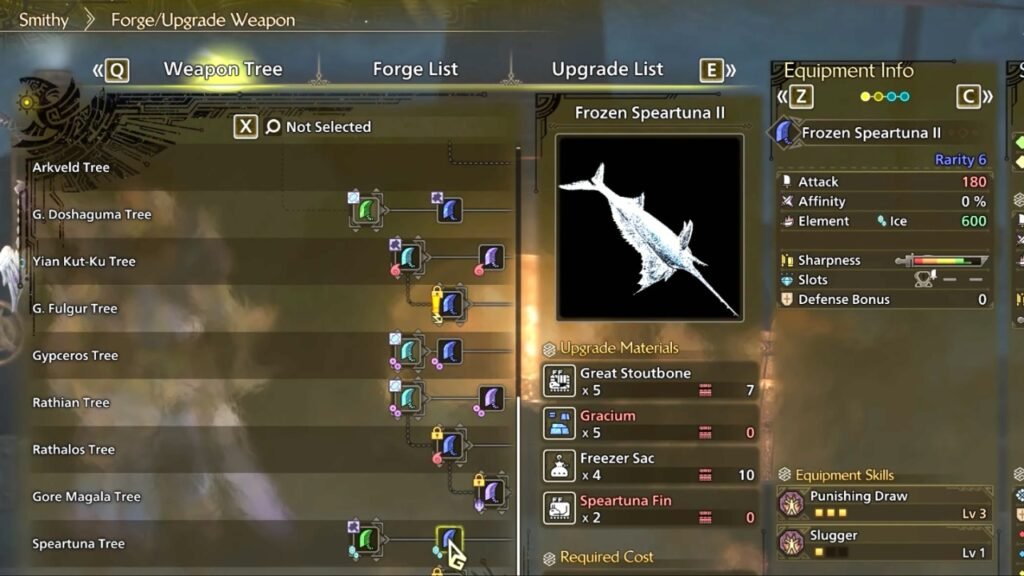
The Fishing minigame is not just any other side activity in Monster Hunter Wilds. As you complete more missions and catch some of the rarer fish, you start to unlock fish like the Speartuna which can then be used to craft some higher-tier Greatswords.
To catch a fish that you want, you will need to use the bait that attracts them the most. You can check out which fish reacts to which bait by making your way to the monster manual from the options menu.
However, using the right bait alone will not guarantee a catch. Along with the bait, you will also need to draw the line after you cast it. You will need to do it slowly to properly lure the fish in, and if you have done it correctly, you will then be able to get your hands on a catch.
Note: If you are catching a massive fish then do not fight against it or the line will break. You will need to tire it out by moving the analog stick towards the direction that it’s moving. Once the fish is tired, you will then be able to reel it in.
6) Not sparing the time to make a Well Done Steak
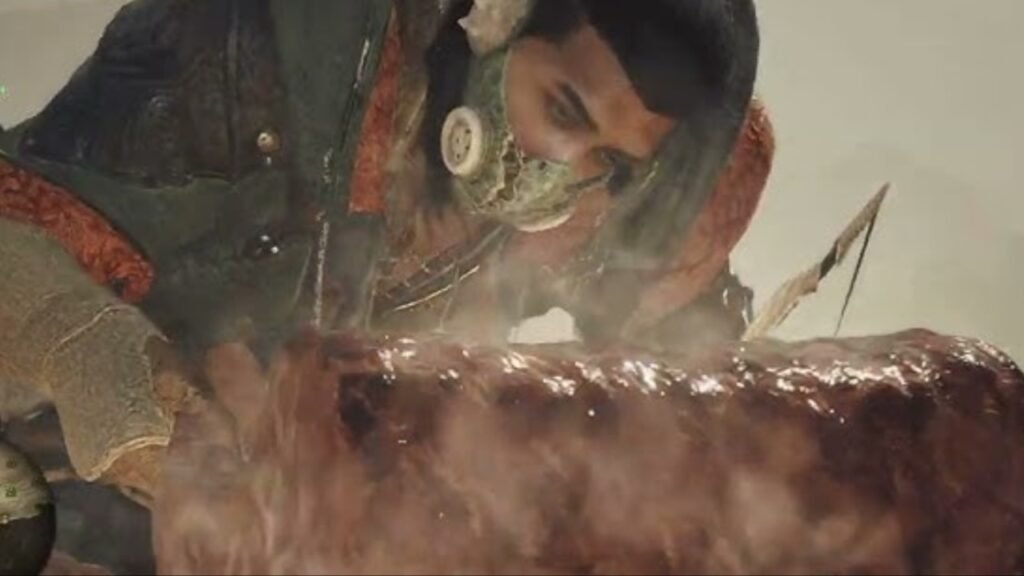
Well Done Steaks are extremely useful mid-combat and exploration. The item can be made from Rw meat and then stored away in your inventory to be used later to replenish as well as increase the max gauges of your HP bar and Stamina.
To make a Well Done Steak, however, is a bit tricky and there are a few nuances that you will need to keep in mind in order to do it perfectly. The first thing you will need to do is to have a lot of Raw Meat in your inventory, bring out your portable grill, and then pick the “Grill Meat” option.
Your hunter will now go into an animation where they cook the meat over the grill. However, the process of getting a Well Done Steak is not automatic and you will need to end the cooking animation before you overcook the meat.
You will need to stop the animation a second or two after your hunter flips the rack of meat over the grill. You will need some good timing on this, so practice it every time you get some time during exploration.
7) Sleeping on the Map Cycle feature in the Tent
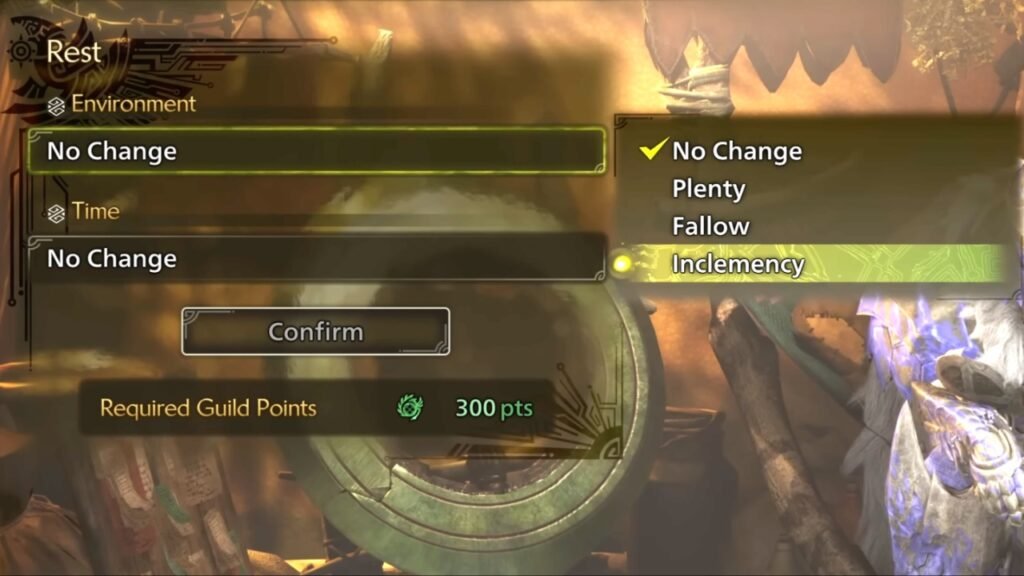
When you are in a tent in your Base Camp or Pop-up camp you will gain access to a rest option that lets you change the time of day and the Weather Condition for some Guild Points. This feature is extremely useful if you are looking to hunt a monster who only comes out during a particular time of the day or weather period.
Ray Dau for example is the Apex of Windward Plains and will only appear during an Inclemency Period. So if you are looking to hunt it for its parts, you will need to rest at the tent and progress the weather of the region to make it spawn.
8) Ignoring “Save as Investigation”
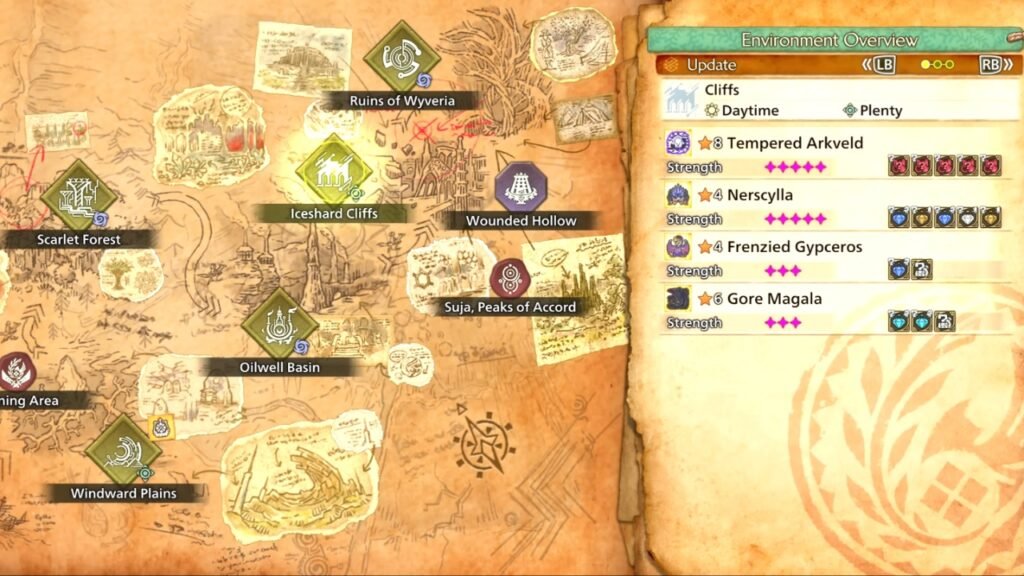
When you open the map in any region you will see all the monsters that are present there currently and the items that they will drop after you have successfully hunted it. As you reach the end-game loop in Monster Hunter Wilds, you will find higher-tier monsters who provide higher rarity drops and other bonus rewards including Artian Materials.
If a particular quest gives the maximum number of rewards you can click on the monster and pick the “Save as Investigation” option, instead of going for the usual “Begin Field Survey”. This will let you save the quest allowing you to take part in it a total of three times. You can access all of your saved investigations by talking to Alma.
It will be one of the core parts of progression allowing you to have an easier time gathering the monster parts that you need for your build.
9) Slaying monsters instead of capturing them
You will need to get used to capturing monsters instead of outright slaying them in Monster Hunter Wilds. This is especially useful when you are looking to farm rarer monster parts like Fluids, Tickets, and Gems.
Rarer parts are usually not guaranteed drops from breaking wounds or carving so capturing them with the use of Shock and Pitfall Traps will net you a higher yield and a much better chance of getting these monster materials.
You can capture a monster when you see them skulling. Just set down a consumable trap like Shock or Pitfall and when they are caught in it drop two Tranq Bombs.
Make it a habit of catching monsters that you are looking to target farm. Most monsters in the game can be caught. Elder Dragons, on the other hand, cannot be caught as they are immune to traps.
10) Not using the Map Filter system
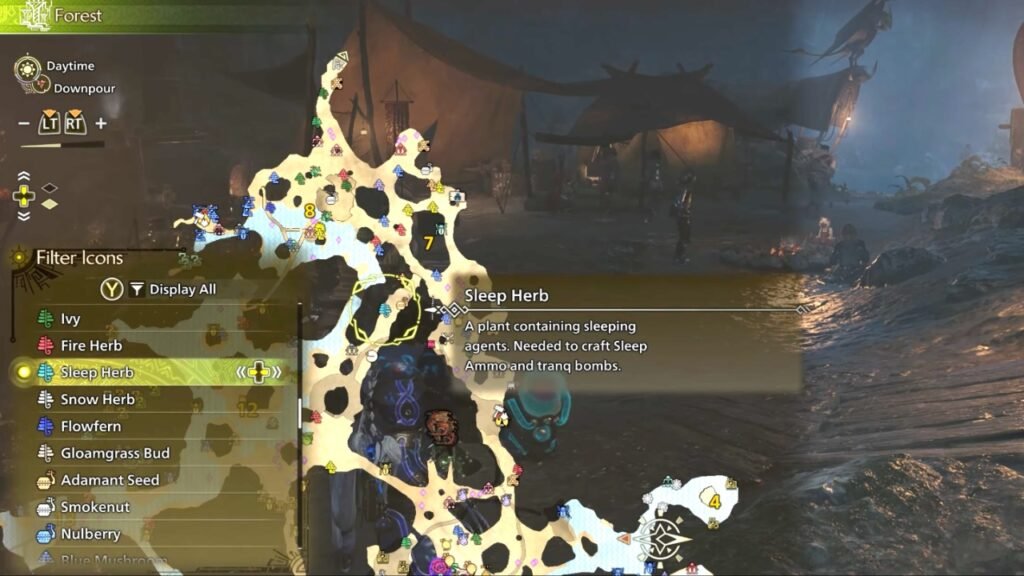
The Monster Hunter Wilds map has a filter system that lets you select what you want to see highlighted on the map at a given time. This is particularly useful when it comes to farming resources that you need for crafting essential hunting items.
A Tranq Bomb for example needs Sleep Herbs and Parashrooms to make. So to have a good supply of them you will need to go to the regions where an abundance of them can be found (or you can use the Village Trade system but that takes time).
You can filter out the resource you want by opening up the map and then pressing left/right on the D-pad. This will then open up the many of everything that is available in the region that you are in. You can then select the resource that you want and then tap the directional keys again where the minimap goes over all the locations in which they spawn.
Once you find a good cluster of Parashrooms, you can then set a waypoint there and your Siekret will automatically take you there.
11) Not picking up “?” Treasure items
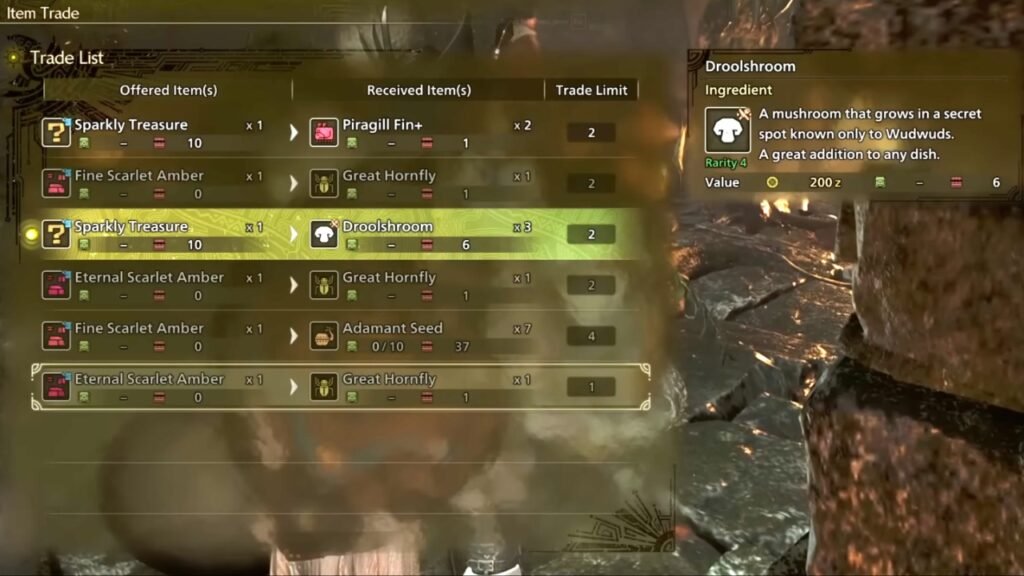
As you explore the various regions in Monster Hunter WIlds you will notice a lot of outcrops that offer “?” Treasure along with another form of coins when you interact with them and pick them up. Their use is not exactly clear right away, however, as you complete more NPC quests and unlock trade options with them, you will be able to use these treasures to exchange them for valuable items.
Important cooking ingredients like Droolshroom which gives the Black Belt food skill are obtained by exchanging Sparkly Treasure. So make sure you are farming these treasure outcrops every time you are out on an investigation.
12) Not interacting with the Ingredients Centre
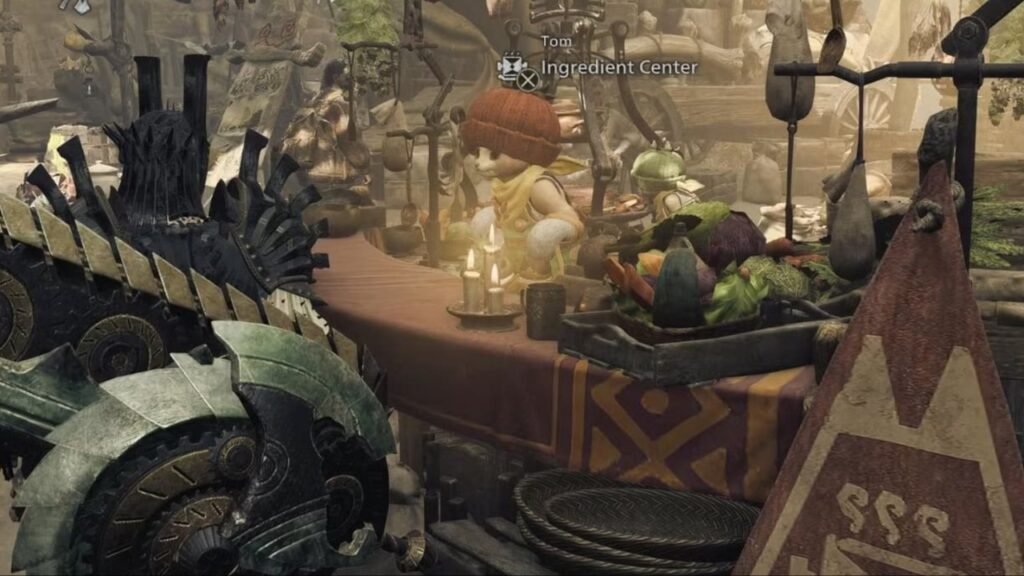
You will get a lot of Rations for free by just talking to the NPC at the Ingredient Center. After certain intervals, the NPC stock up on Rations and you will be able to make a free meal out of them allowing you to keep topping up your Stamina and HP bar before you go out exploring the open world.
So every time you find yourself in the Windward Plains Base Camp, go and interact with Tom. He might just be carrying a lot of Rations for you.
13) Having “Display with Coefficient” turned on in the Training Area

This is one mistake that you will have to keep in mind in Monster Hunter Wilds when you are looking to test the DPS numbers of your new build. In the Training Area if you have the “Display With Coefficient” option set on then you will receive bloated attack values for your weapons.
The numbers you get will not be a true representation of your weapon’s Raw DPS, so it’s not going to be a good yardstick to measure how better your new build is compared to the previous one.
So when you are going to the Training Area next, make sure to check the “Display Without Coefficient” option.