
Secret Dungeons are amazing at helping out players get more loot and EXP if they are playing Throne and Liberty solo. Not all players like the Guild or Party aspects of an MMO, and they prefer to go out adventuring alone.
For such players, the Secret Dungeons are one of the best places for progression apart from the main story missions. Here is a guide that covers everything you need to know about the Secret Dungeons in Throne and Liberty.
Secret Dungeons in Throne and Liberty explained

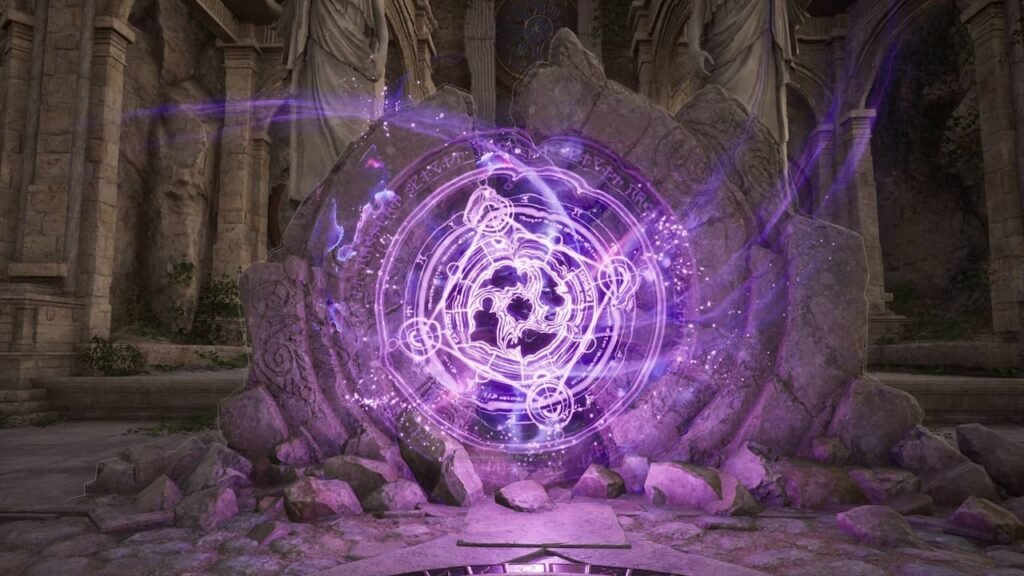
Secret Dungeons are activities you will need to carry out either as a solo player or as a part of a party (max 6 players). You will first need to unlock them before you can boot them up with the first Secret Dungeon being the Taedal’s Tower, which is a solo-queue Secret Dungeon.
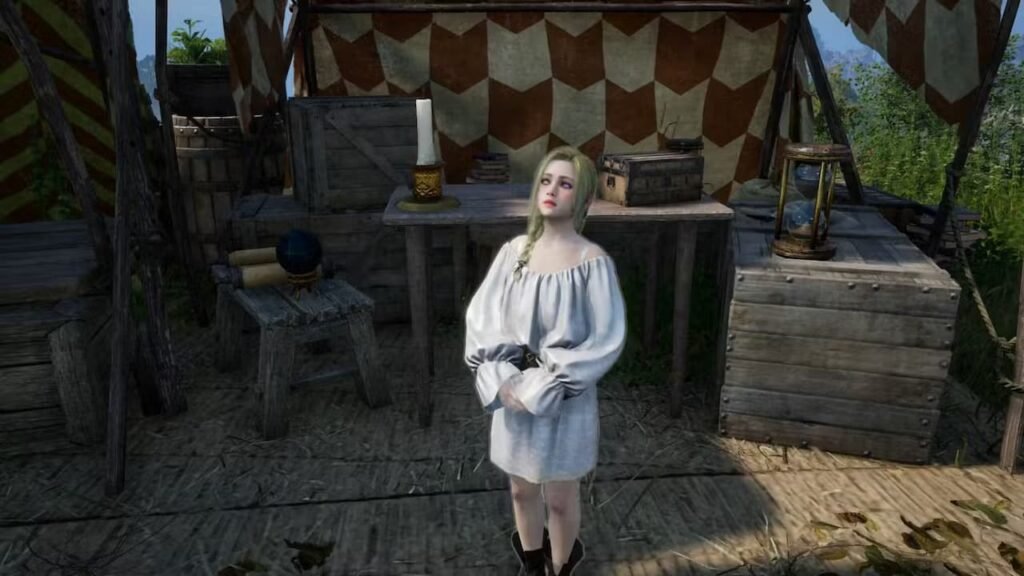
You unlock this after leveling up and reaching levels 11-14. You will then complete Codex Chapter 3: Veterans Never Die Appendix – Ashien’s Strange Painting. By following the quest markers you will eventually unlock the NPC named Ashien and after you unlock a painting and speak to her, the Secret Dungeon will be made available.
The second set of dungeons is called Gate of Infinity. These activities come with a ranking system and have a weekly rotation that keeps swapping out the missions every week. These Secret Dungeons will be a part of your end-game grind in Throne and Liberty.
Finally, Dimensional Circle Dungeons are a set of 6-player challenges that you will need to access through matchmaking. It’s more inclined towards a co-op experience and is not something that is recommended for players who are going solo.
Here is a list of all the three Secret Dungeon types in Throne and Liberty and how they work:
1) Taedal’s Tower Overview Secret Dungeon
As mentioned, Taedal’s Tower is a solo queue adventure that contains challenges in different tiers. You will be able to access it through the Secret Dungeons tab in the Main Menu and has the following characteristics:
- There are a total of 20 floors or challenges and each will have a different win condition and a mechanic that you will need to look out for.
- The difficulty of the encounters will increase from one floor to the next. Higher floors will also give you better rewards which will include Sollant, crafting materials, as well as Growthstones.
- You can try Taedal’s Tower as many times as you want. Dying here will not hit you with a penalty or a long cooldown.
Here is a list of all the floors, the recommended levels that you should be trying them as well as the rewards that they provideL
| Taedal’s Tower Floor | Recommended Level | Rewards |
|---|---|---|
| Floor 1 – Charging Gatekeeper | Level 15 | -Quality Weapon Growthstone x10 -Quality Armor Growthstone x10 -Quality Accessory Growthstone x10 -Recovery Crystal x10 -Exp 2780 -Sollant 7827 |
| Floor 2 – Rushing Queen Spider | Level 19 | -Quality Weapon Growthstone x10 -Quality Armor Growthstone x10 -Quality Accessory Growthstone x10 -Recovery Crystal x10 -Exp 7619 -Sollant 8742 |
| Floor 3 – Screams and a Healing Song | Level 23 | -Quality Weapon Growthstone x10 -Quality Armor Growthstone x10 -Quality Accessory Growthstone x10 -Recovery Crystal x10 -Exp 10831 -Sollant 9917 |
| Floor 4 – Spinning Goblins | Level 27 | -Quality Weapon Growthstone x10 -Quality Armor Growthstone x10 -Quality Accessory Growthstone x10 -Recovery Crystal x10 -Exp 16303 -Sollant 11451 |
| Floor 5 – Warrior’s Cry | Level 31 | -Crafty Joker – Amitoi Summon Stone Rare Weapon -Growthstone x12 -Rare Armor Growthstone x12 -Rare Accessory Growthstone x12 -Quality Recovery Crystal x10 -Exp 17778 -Sollant 14283 |
| Floor 6 – Finding the Piton in the Flames | Level 35 | -Rare Weapon Growthstone x15 -Rare Armor Growthstone x15 -Rare Accessory Growthstone x15 -Quality Recovery Crystal x10 -Exp 19064 -Sollant 15954 |
| Floor 7 – The Bound | Level 39 | -Rare Weapon Growthstone x16 -Rare Armor Growthstone x16 -Rare Accessory Growthstone x16 -Quality Recovery Crystal x10 -Exp 23670 -Sollant 18098 |
| Floor 8 – Poisons, Explosion, and Detox Herbs | Level 43 | -Rare Weapon Growthstone x18 -Rare Armor Growthstone x18 -Rare Accessory Growthstone x18 -Quality Recovery Crystal x10 -Exp 27250 -Sollant 20896 |
| Floor 9 – Dance of the Flashing Sword | Level 47 | -Rare Weapon Growthstone x20 -Rare Armor Growthstone x20 -Rare Accessory Growthstone x20 -Quality Recovery Crystal x10 -Exp 31436 -Sollant 24618 |
| Floor 10 – Commander’s Shadow Strike | Level 50 | -Velvet Raven – Morphstone Precious Weapon -Growthstone x4 -Precious Armor Growthstone x4 -Precious Accessory Growthstone x4 -Rare Recovery Crystal x10 -EXP 39673 -Sollant 30486 |
| Floor 11 – Maze of Death | Level 50 | -Precious Weapon Growthstone x5 -Precious Armor Growthstone x5 -Precious Accessory Growthstone x5 -Rare Recovery Crystal x10 -EXP 41219 -Sollant 33593 |
| Floor 12 – Answers in the Sand | Level 50 | -Precious Weapon Growthstone x5 -Precious Armor Growthstone x5 -Precious Accessory Growthstone x5 -Rare Recovery Crystal x10 -EXP 41467 -Sollant 37523 |
| Floor 13 – Drop! Lightning! Destroy! | Level 50 | -Precious Weapon Growthstone x6 -Precious Armor Growthstone x6 -Precious Accessory Growthstone x6 -Rare Recovery Crystal x10 -EXP 39673 -Sollant 30486 |
| Floor 14 – Out of Sight | Level 50 | -Precious Weapon Growthstone x7 -Precious Armor Growthstone x7 -Precious Accessory Growthstone x7 -Rare Recovery Crystal x10 -EXP 42052 -Sollant 49418 |
| Floor 15 – Stealers and Retrievers | Level 50 | -Mischievous Joker – Amitoi Summon Stone -Precious Weapon Growthstone x7 -Precious Armor Growthstone x7 -Precious Accessory Growthstone x7 -Rare Recovery Crystal x20 -EXP 42498 -Sollant 57901 |
| Floor 16 – Precise Moment | Level 50 | -Precious Weapon Growthstone x8 -Precious Armor Growthstone x8 -Precious Accessory Growthstone x8 -Rare Recovery Crystal x20 -EXP 43114 -Sollant 69796 |
| Floor 17 – Unbreakable Shield of Cooperation | Level 50 | -Precious Weapon Growthstone x10 -Precious Armor Growthstone x10 -Precious Accessory Growthstone x10 -Rare Recovery Crystal x20 -EXP 43933 -Sollant 86365 |
| Floor 18 – Swirling Firestorm | Level 50 | -Precious Weapon Growthstone x12 -Precious Armor Growthstone x12 -Precious Accessory Growthstone x12 -Rare Recovery Crystal x20 -EXP 45293 -Sollant 110102 |
| Floor 19 – Reaching for Higher | Level 50 | -Precious Weapon Growthstone x14 -Precious Armor Growthstone x14 -Precious Accessory Growthstone x14 -Rare Recovery Crystal x20 -EXP 47305 -Sollant 145216 |
| Floor 20 – Revenge and Resurrection | Level 50 | -Fierce Taion – Morphstone -Precious Weapon Growthstone x16 -Precious Armor Growthstone x16 -Precious Accessory Growthstone x16 -Rare Recovery Crystal x20 -EXP 50601 -Sollant 199098 |
2) Gate of Infinity Secret Dungeon

The Gate of Infinity Secret Dungeons are a part of the end-game content that you can run solo and max out builds for the best weapon combinations in Throne and Liberty These missions take the levels from Taedel’s Tower and adding more objectives to them while significantly ramping up the challenge.
These challenges will rotate every 5 days, so you have fresh missions to look out for once you have completed the initial set of objectives. The reason why you should be running these dungeons a lot after reaching the max level in the MMO is that completing these challenges will net you loot like Precious Marind Ore, Training Dew, Sollant, Omnipotence Parchment, and other incredibly useful items.
Gate of Infinity also has a ranking system and the performance of each player will be calculated with high-scoring players receiving additional rewards. Performance is measured by taking into consideration time for completion, damage dealt, damage received, and more.
3) Dimensional Circle Secret Dungeon
These are Co-op Secret Dungeons and will contain sets of 6-player challenges. To boot up the quest you and your party will need to take part in matchmaking and then make your way through a series of dungeons each harboring powerful opponents as well as tricky gameplay mechanics that you will need to complete.
However, Dimensional Circles are locked behind progression, and you will be able to unlock them after reaching certain levels in the MMO. Here is a list of all the dungeons and when they are available:
| Dimensional Circle dungeon | Level Requirement |
|---|---|
| Specter’s Abyss | Level 20 |
| Roaring Temple | Level 30 |
| Cave of Desperation | Level 40 |
| Death’s Abyss | Level 50 |
| Cursed Wasteland | Level 50 |
| Temple of Slaughter | Level 50 |
| Butcher’s Canyon | Level 50 |
| Cave of Destruction | Level 50 |
| Tyrant’s Isle | Level 50 |
As you level up you will find the Dimensional Circle dungeons available through the Co-op Dungeon tab in the main menu.
Apart from the above content, you will also gain access to additional challenges as long as you have a gear score of Tier 2. These challenges will be significantly more difficult and will include the following:
- Island of Terror – Level 50+
- Voidwastes – Level 50+
- Valley of Slaughter – Level 50+
- Carmine Rage Island – Level 50+
- Torture Chamber of Screams – Level 50+
These tier 2 dungeons will also have rotating mechanics that bring different objectives to the mix like enemy buffs, player debuffs, and more. While running one of these instances the Dimensional Circle dungeons will turn into Challenge Dungeons.
However, you will need to meet the requisite gearscore to run them as they will have enemies that have increased health and damage. Fortunately, the loot drops in these missions are amazing which is why it’s a key part of the end-game grind.