
Knowing all the Map Markers and Icons by heart will allow your runs to be significantly more manageable in Elden Ring Nightreign. Having a sound strategy will allow you to survive through the night during an Expedition, and knowing where everything is on the randomized map helps in making the most of your time.
So if you are wondering what all the map icons mean in the game, then the guide below will help you out.
Key Location Map Markers and Icons in Elden Ring Nightreign
Here are the most important map markers that you should be familiarizing yourself with in Elden Ring Nightreign:
| Map Icon | Description | Significance |
|---|---|---|
 Fort | Forta are outposts that are filled with soldiers, and here you will find maps that will provide more information on the surrounding area. These are the ones that you should be hitting up first so that you will be able to have an easier time devising a strategy. | Apart from the map, the forts will also contain at least one boss, along with crates and chests. You will find a lot of available loot here, along with a Weapon Rack-Staves and a note that reveals hidden items in the area. |
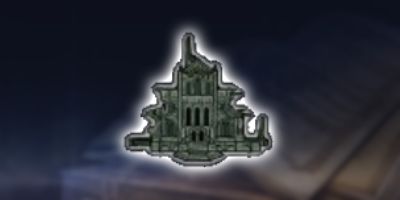 Great Church | These dilamidated structures were houses of worship, and you will likely find seals here. | Churches will contain a lot of chests that will provide you with powerful loot, allowing you to make the most of your run. There will be low-to-mid-tier bosses here as well, along with a Sacred Seal Weapon Rack. If you are playing a Recluse or a Revenant, you should be hitting this icon first. |
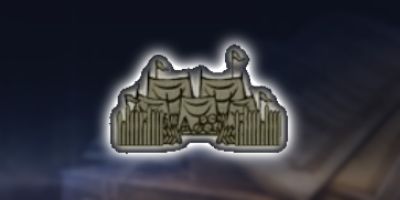 Main Encampment | The Main Encampments are like forts but much larger in scale, will have powerful armies of soldiers within them, and harder bosses. | This area has multiple bosses that you will be able to go through. Mini-bosses in the area are split up, and your goal will be to take out all of them to deplete their shared health pool. Once they are down, you will get your hands on a lot of XP, chests, and weapons.. |
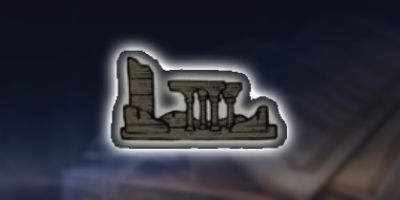 Ruins | Ruins have hidden underground chambers and house some incredibly strong enemies early on. | Ruins also have multiple bosses whom you will need to take down to deplete their shared HP. There is a lot of enemy variety to them as well. However, the ruins usually house enemies and bosses who have an affinity for their primary element. So if you have made your way to the Poisoned ruins, you will likely find Perfumers there. |
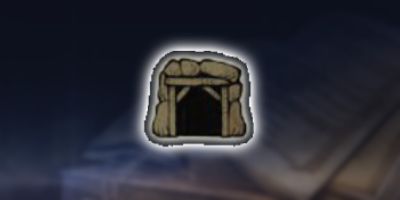 Tunnel Entrance | Mining Tunnels will lead you to ores, which is then used to temper your weapons and armor. | Mining Tunnels are one of the best places for farming Smithing Stones. They are a key area that you will want to visit before the third night. Getting a weapon that is effective against the final boss and then tempering it will make things considerably easier. However, before reaching the Smithing Stones, you will need to take out some enemies and perhaps a mini-boss. |
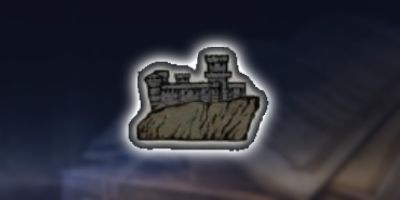
 Castle | Castles are incredibly challenging strongholds to conquer. They provide some of the best XP farms and loot in Elden Ring Nightreign, so take these on only if you have a good build going. | Castles are complicated structures that have multiple levels to them. Along with this, there are numerous bosses and higher-level enemies patrolling the place. You should be visiting this area right before the final boss encounter, allowing you to receive a fairly sizeable boost to your stats if you are able to conquer it. |
 Field Boss | Field Bosses are strong enemies that roam around the map. They can be of various levels, but you should not challenge them right away. | Field Bosses are found roaming in the open world of Elden Ring Nightreign. These are usually very hard encounters and should be something you tackle after you have spent 1-2 nights leveling up. While the fight is incredibly challenging, the rewards that you get for conquering the boss are worth the risks. |
 Evergaol | Evergals are the various prisons that you will come across, which are accessed only with Stoneswork Keys.. | If you have a Stonesword Key, you will be able to unlock an Evergaol in Elden Ring Nightreign. These items are sold by Merchants or obtained as a drop from completing Strongholds or Castles. Once you unlock an Evergaol, you can then proceed to beat the boss to gain access to a ton of XP along with an item or bonus of your choice. |
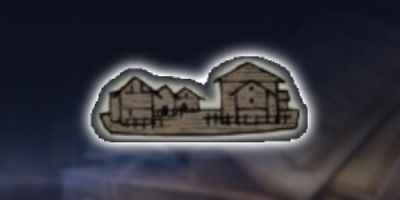 Township | Townships are abandoned places that usually house Merchants in the game. | As the Townships’ house merchants, they are a key point of interest for purchasing some rare and powerful items before facing the boss. So, try visiting them and see what’s in stock. Moreover, as all Merchants sell Smithing Stones, you will be able to use them to temper your armaments as well. |
 Church | Churches are another house of worship that you will find on the map. This structure is important for upgrading the uses of your Sacred Flask. | Churches always have an upgrade for your Sacred Flask in Elden Ring Nightreign. So if you find one on the map, visit it and then interact with the altar to increase the Flask use by 1. There is a minimum of three churches that you will be able to find during every Expedition. |
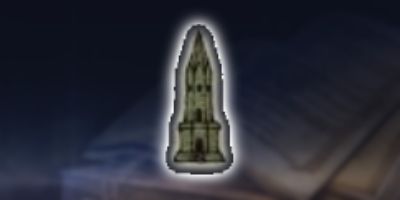 Sorcerer’s Rise | Occasionally, you will find these towers in the open world, which houses a sorcerer who is conducting experiments with spells. | Sorcerer’s Rise buildings are usually guarded by a sealed door. To break the door, you will have to look for out-of-place structures that are nearby. These will usually be Imp Statues or moving tree trunks. Hitting these will unlock the seal, and you can then head up to get your hands on an item of choice. |
 Site of Grace | Sites of Grace will restore your HP, FP and remove all status ailments when you interact with them. You will also be able to replenish your flasks here and spend Runes to level your character. | Sites of Grace can be key areas if you are having a hard time with a run. Visit it often to replenish your resources. |
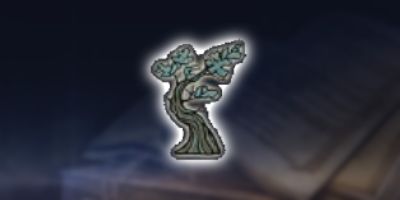 Spectral Hawk Tree | Spectral Hawk trees are a way of getting around Limveld Faster. You will be able to use these to zip around the map with the aid of the Spectral Road. | When you drop onto the map, you will see six Spectral Hawk trees in the open world. They will also have some blue lines like wisps surrounding them, indicating the direction in which the Spectral Road will take you. You can interact with the tree and then fly in the direction that it points to. |
 Spiritstream | Spiritstreams work very similar to the base game’s Spiritspring, and you can use them to scale great fights. | The Spiritstreams can be found all over the map, and you will be able to use them to scale cliffs or get on top of a large building. You can also control the direction of the jump by using the movement stick when in mid-air, allowing you to get a lot of distance on it. |
All Minor Map Markers and Icons in Elden Ring Nightreign
Here are all the minor map markers that you should be familiarising yourself with in Elden Ring Nightreign
| Map Icon | Significance |
|---|---|
 Scarab | Scarabs in Elden Ring Nightreign carry a lot of valuable loot, and usually, you will be able to get some amazing Talismans from them. |
 Buried Treasure | Buried Treasure has a lot of rare loot and weapons that you will be able to get your hands on. They are usually hidden away, and you will be hard-pressed to find them on the map. |
 Mission Objective | This icon notifies you and your fellow Nightfarers need to go next. |
 Sacred Relic Flask | Visiting this icon-location will allow you to refill Sacred Flask Charges. |
 Hidden Info Nearby | Accessing this will reveal hidden information about the nearby area. It can also reveal Buried Treasure. |
 Merchant and Smithing Table | This icon will lead you to the Merchant in the area, along with a Smithing Table that you can use to upgrade weapons and armor. |
 Weapon Rack-Bow | Guaranteed to drop a bow when interacted with. |
 Weapon Rack-Stave | Guaranteed to drop a Stave when interacted with. |
 Weapon Rack-Sacred Seal | Guaranteed to drop a Sacred Seal when interacted with. |